The Wasabi access keys are required for configuring our plugins in order to connect your WordPress website to Wasabi cloud storage.
In this article, we will walk you through the following steps to create a new Wasabi bucket and get access keys as quickly as possible.
- Login to Wasabi Console
- Create a Wasabi bucket
- Create an IAM user & get access keys
- Configure our plugins with the given access keys
1. Login to Wasabi Console
- Already have a Wasabi account? Sign in here.
- If you don’t have a Wasabi account yet, you will need to sign up here.
2. Create a Wasabi bucket
Step 1: Log in to your Wasabi Management Console.
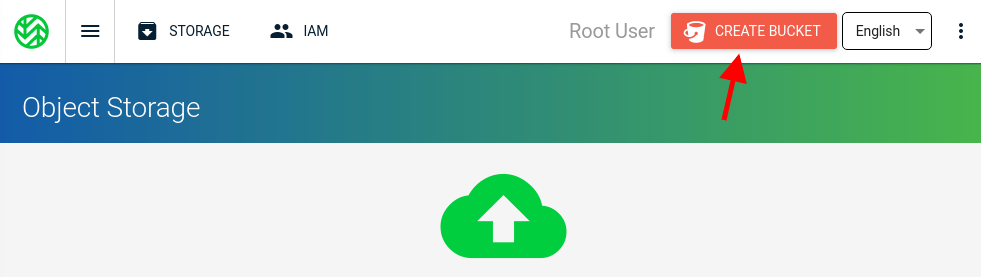
Step 2: Click on “Create Bucket” button at the top right corner of the screen.
Step 3: You will be prompted to enter a bucket name as well as selecting a region where you want the bucket to reside.

The bucket name must be unique and won’t be able to be changed after created.
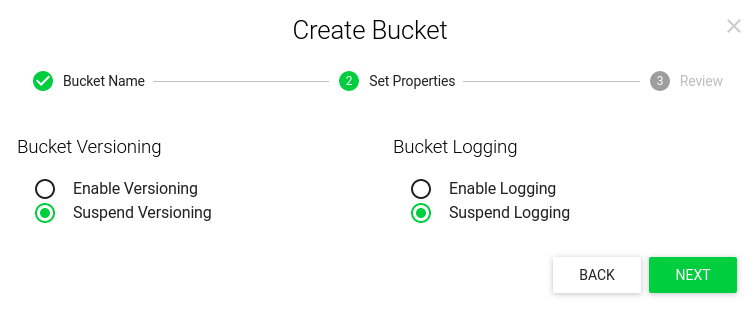
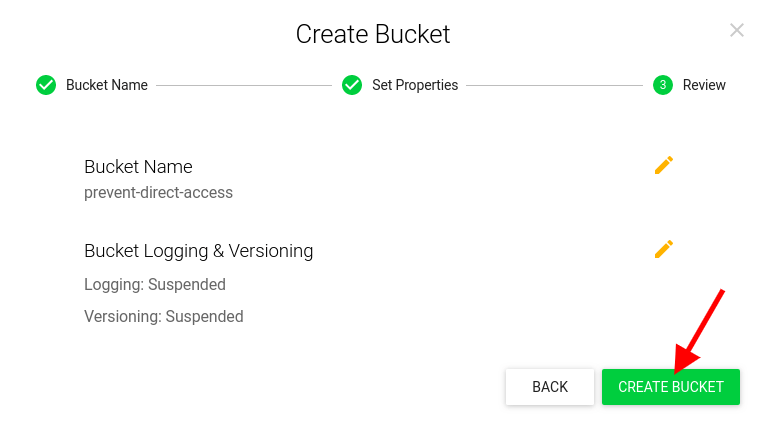
Step 4: Leave other options as default. Review all your settings last time before clicking on “Create bucket” button.
3. Create an IAM user & get access keys
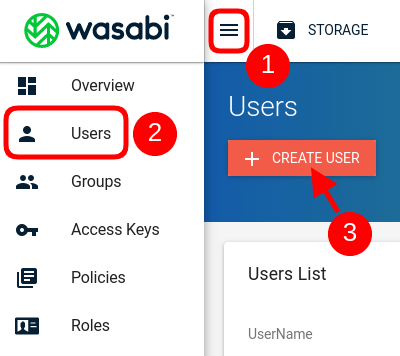
Step 1: Click on Menu button at the top left corner of your Wasabi Management Console.
Step 2: Select “Users”.
Step 3: Click on “Create user” button to create new user.
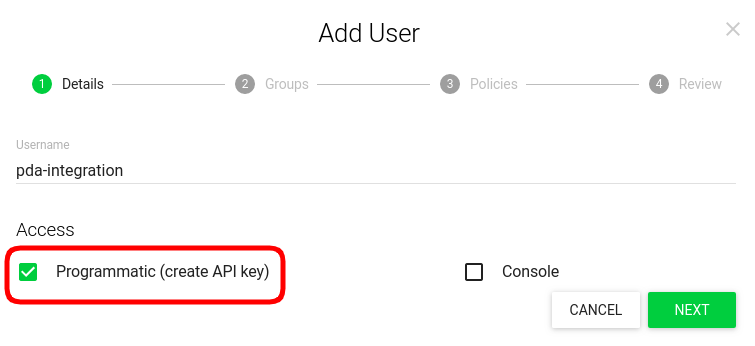
Step 4: It will bring up a window popup where you enter details for the user. You should give this user Programmatic access only.
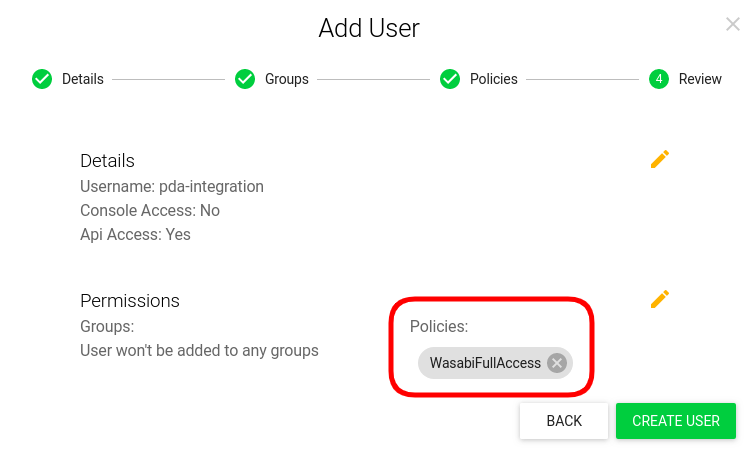
Step 5: Associate WasabiFullAccess policy with the user.
Finally, review all the settings configured previously last time before clicking on” Create user” button.
After the new IAM user is created, a security credentials file including new access key and secret access key will be shown to you for download. Wasabi will not display this information again so please download the .csv file and keep them somewhere safe.

4. Configure our plugins
WordPress Amazon S3 – Wasabi Smart File Uploads Plugin
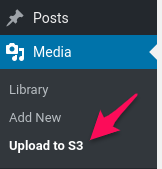
After activating our plugin, navigate to the plugin’s settings page under Media >> Upload to S3 menu from your admin dashboard.
You will see the guide to configuring your Wasabi access keys in wp-config.php file.
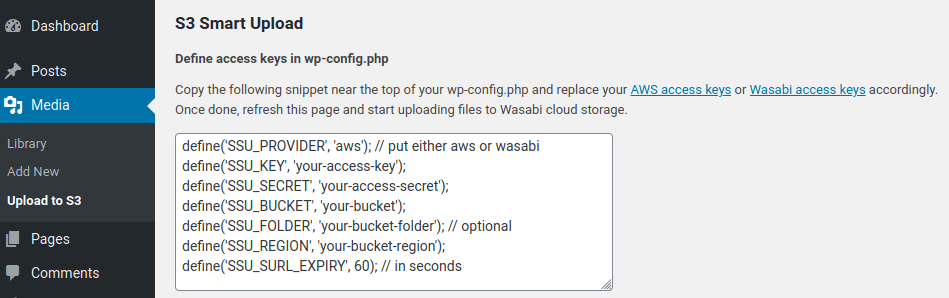
Put the following code at the top of your wp-config.php file and replace your Wasabi access keys accordingly.
define('SSU_PROVIDER', 'wasabi');
define('SSU_KEY', 'your-access-key');
define('SSU_SECRET', 'your-access-secret');
define('SSU_BUCKET', 'your-bucket');
define('SSU_FOLDER', 'your-bucket-folder'); // upload files to specific folder under the bucket (optional)
define('SSU_REGION', 'your-bucket-region');
define('SSU_SURL_EXPIRY', 60); // in seconds
define(‘SSU_CAPABILITY’, ‘manage_options’); // determine who can upload files to the bucket (optional)
When done, reload this page and start uploading files.