Facebook has long been the most popular social media platform with roughly 2.9 billion monthly active users according to Statista. When it comes to content management systems, WordPress is a top choice with over 400 million monthly visitors.
It will be extremely beneficial if you connect WordPress to Facebook, two gigantic platforms. That way, you make it more convenient for users as they can log into your WordPress site using a Facebook account. Besides, it helps you promote your products and site content effectively by enhancing customer interaction through Facebook.
Linking WordPress and Facebook brings unlimited opportunities. That’s why you shouldn’t ignore it. There are several WordPress Facebook plugins with great features that support you grab these opportunities.
Let’s take a look at the 5 best plugins now!
5 Best WordPress Facebook Plugins
#1 Nextend Social Login and Register
The first fundamental step for the customer to initiate interaction is logging in. Nextend Social Login and Register comes as one of the most professional, easy to use, and free plugins to handle the job.
The plugin allows users to use their Facebook, Google, and Twitter account to register and login to your website. The default registration and login form will definitely not be a concern for the users anymore.
Moreover, your customers will no longer have to wait for the validation emails or remember their username and password.
#2 Smash Balloon Social Post Feed
With 4.9 out of 5 stars rated, Smash Balloon Social Post Feed is undoubtedly the best Facebook-focusing WordPress plugin with high flexibility and fully-optimized features.
You can add Facebook pages or posts into your WordPress website with a few simple steps. Also, social media interaction and reviews can be embedded as testimonials on your WordPress site.
#3 Shared Counts
Free but efficient, Shared Counts implements the social media sharing function on your WordPress website. Additionally, the plugin also counts the number of shares from each network as a social proof.
Sounds simple at first but Shared Counts significantly contributes to increasing traffic and social media engagement.
#4 Blog2Social
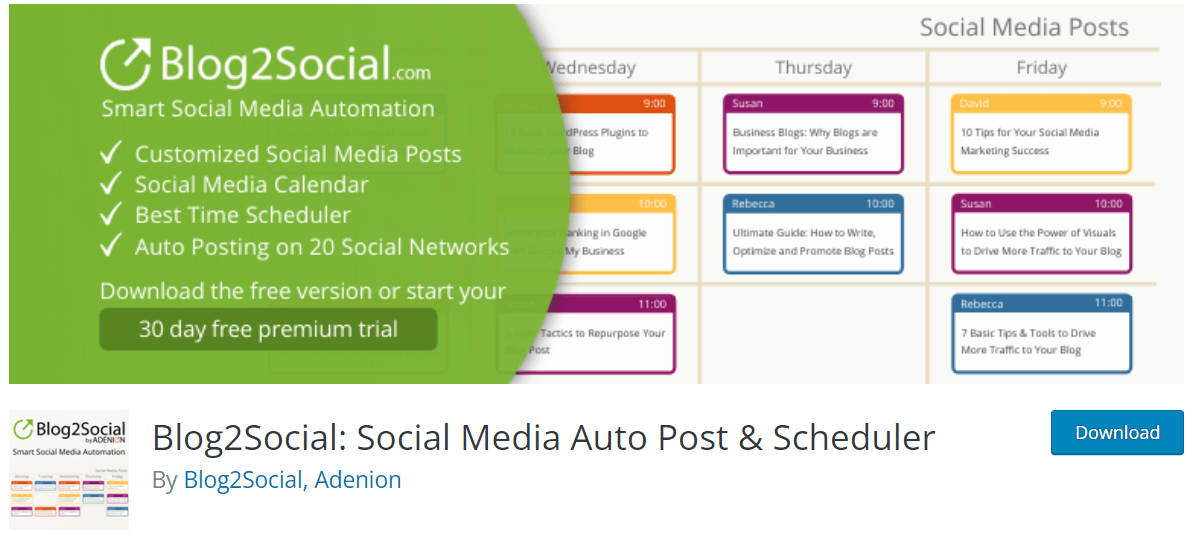
It can be exhausting to manually post every blog to Facebook to reach more audiences. Worry no more, Blog2Social is here to save your day.
The plugin authorizes you to cross-post, reshare, and schedule your WordPress content to multiple social media platforms, which saves you a lot of time. It also has a built-in detailed calendar to make sure you stick to your social media promotion goal.
#5 WP2Social Auto Publish
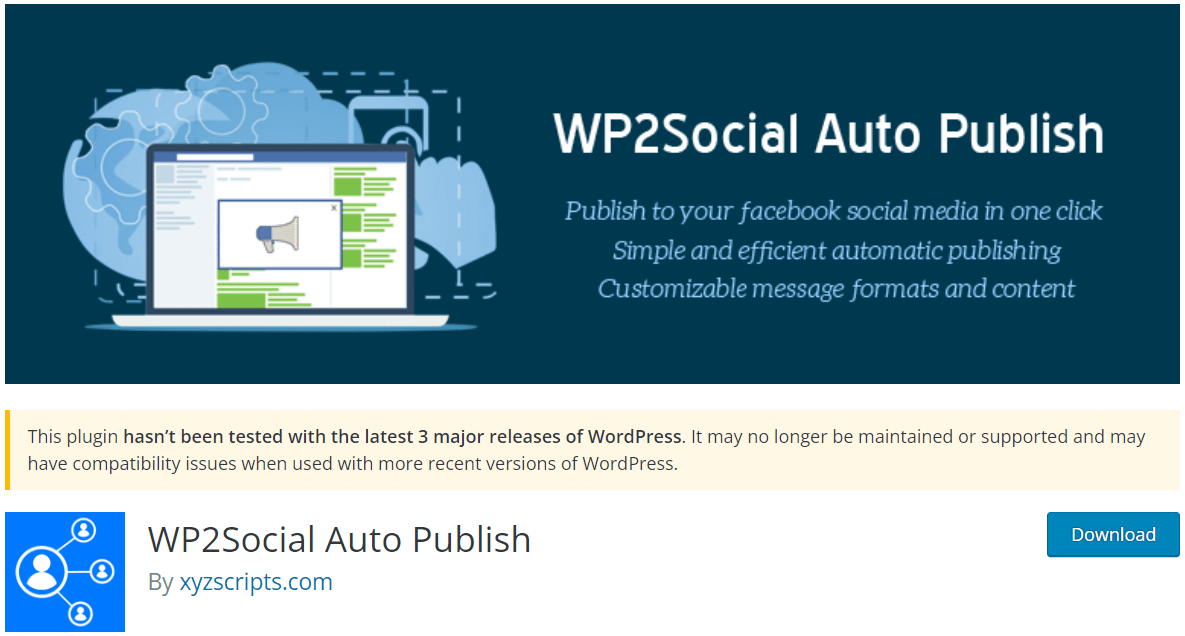
With the help of Facebook, you can easily promote the content from your WordPress website. However, is it exhausting and time-consuming to manually share posts one by one? No worries! WP2Social Auto Publish lets you publish posts automatically from your WordPress blog to Facebook.
Publishing your WordPress posts on Facebook as texts and texts with attachments has never been easier with WP2Social. It also filters posts based on categories and custom post types.
We’ve shown you some great plugins to connect WordPress to Facebook. Now, let’s find out how to add a Facebook post to your WordPress website step-by-step.
2 Ways to Add Facebook Posts to WordPress
#1 By embedding code
To embed a Facebook post or page to your WordPress website:
- Go to the Facebook’s Page Plugin website and enter your Facebook page’s URL.
- Modify the width and height of the box to your liking.
- Click on Get Code after you are done briefly customizing your post.
- It will show you two code snippets. Firstly, copy the first code snippet and put it in your theme’s header.php file after the <body> tag.
- Next, copy the second code snippet and paste it anywhere you want to display the page, including widgets by going to Appearance > Widget.
This method is not recommended because it involves a lot of codes and is not suitable for those who are not used to writing codes.
Let’s move on to the next one.
#2 By using plugin
We choose the Smash Balloon plugin due to its high rating.
Step 1: Install the Smash Balloon Plugin
- Obviously, the first step is to install and activate the plugin in your WordPress admin dashboard.
Step 2: Create a New Facebook Feed
- In the dashboard, navigate to Facebook Feed > All Feeds > Add New.
- There are 9 options for you to choose in the popup, including timeline, reviews, albums, videos, events, photos, etc. Pick your desired type of feed then click Next.
Step 3: Connect the Feed to Your Facebook Page
- Click Add New to start connecting the feed to a Facebook post or page.
- Choose Group or Page in the popup then select Connect. The plugin will open your Facebook account in read-only mode.
- Pick your Facebook Group or Page then click Next.
- Confirm the read-only access then hit Done.
- Choose Add in the popup after being redirected to your website then press the Next button to finish connecting.
Step 4: Customize Your Facebook Feed
- To customize your Facebook Feed, select Feed Layout on the left. There are 4 options: List, Grid, Masonry, and Carousel. Choose the type of layout you want then click Save. Select Customize to return to the main menu.
- To change the colors of your Facebook feed, select Color Scheme. You have 4 schemes: Inherit from Theme, Dark, Light, and Custom. Pick the scheme you want then hit the Save button.
- You can also customize the margins, background, and other elements of your post or page.
- Finally, hit on Save to save your changes.
Step 5: Add Your Facebook Feed to WordPress
The Custom Facebook Feed Pro plugin can help you to add your Facebook feed to your WordPress page and sidebar.
To add the Facebook feed to your WordPress page:
- Select Add to a Page in the popup after clicking on the Embed button.
- Choose your desired WordPress page, then click Add. The plugin will open the WordPress page.
- Click [+] then add the Custom Facebook Feed block. Hit on the Publish button to finish adding.
To add your Facebook feed to your WordPress sidebar and widget:
- Go to Facebook Feed > All Feeds in the admin menu, then choose the recently created Facebook feed.
- Select Embed > Add to a Widget.
- Click on the Sidebar panel in the Widgets page. Finally, click the [+] icon, then select the Custom Facebook Feed widget.
Find Your Ideal WordPress Facebook Plugin Now
To summarize, social media development and digitized business operations are skyrocketing nowadays. If you truly want to step up in your game then it is wise to base on your business characteristics to choose an omnipotent WordPress plugin. It can be your savior to both your web traffic and social media interactors.
What is your favorite feature from the list of plugins above? Please let us know in the comment section below!