Apart from offering outstanding and informative products, gathering customer information and understanding their needs carry a lot of weight in the success of selling online.
In this article, we will show you the fastest ways to please your clients, by creating a custom field in the WooCommerce products.
Though WooCommerce allows you to freely build and customize your desired stores, it doesn’t include any built-in function inserting extra fields into product pages.
It’s when the custom field plugins prove useful.
At the end of this article, you’ll gain a thorough knowledge of utilizing these plugins to add custom fields to WooCommerce product pages.
- Why Should You Add Custom Fields to WooCommerce Product Pages?
- 4 Steps to Add a Custom Field to WooCommerce Product Pages
Why You Should Add Custom Fields to Your Product Pages
Custom fields enable you to add, display, store additional data about products in WooCommerce. They can either deliver further information about products to your customers or let users customize the products for their likings.
As you may not know, adding an extra custom field to your product pages brings tons of benefits to your stores.
Providing custom fields will enable customers to select their desired options from different ones and customize them as per their needs. In addition, custom fields in a product encourage customers to be specific as much as possible when shopping online.
Taking food delivery as an example. Buyers order coffee. Some want hot, some want cold. Some want more ice, some prefer less ice. Some want coffee with ice cubes, others love coffee with smashed ice. So how can you meet all these requirements with ease? A custom field will help you handle this task.
You can perceive custom fields as an extra tool to help clients communicate with you, which lets you understand their needs better. As such, this will contribute to increasing customer satisfaction. Happy customers will leave good reviews, which takes your sales performance up a notch and boosting your revenue.
Below are some typical uses of WooCommerce custom fields:
- To show multimedia content related to products, such as images or videos.
- To display and store further information about the prices or alternative price options.
- To show the numbers of products in stock or product bar-codes.
- To include additional product icons or social sharing buttons.
- To provide further explanations about ingredients or fees for extra service charge.
4 Steps to Add Custom Fields to WooCommerce Product Pages
Gaining over 1 million active installations and thousands of 5-star reviews, Advanced Custom Fields (ACF), without a doubt, stands out to be an experienced veteran in creating custom fields in WooCommerce.
This free plugin enables you to quickly and easily add custom fields per your needs. Plus, it doesn’t limit you to the field location. You can create fields anywhere on the WordPress site, including posts, comments, users, media, and many more.
What’s more, the plugin is endorsed by users across the planet thanks to its simple and intuitive user interface as well as a huge collection of more than 30 field types.
To add custom fields to WooCommerce product pages, you need to have ACF installed and activated. When everything is ready, keep reading the following step-by-step guide on how to add a custom field to WooCommerce product pages.
Create a New Field Group
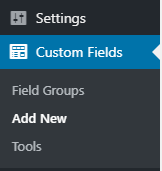
- In your WordPress dashboard, go to Custom Fields > Add New.
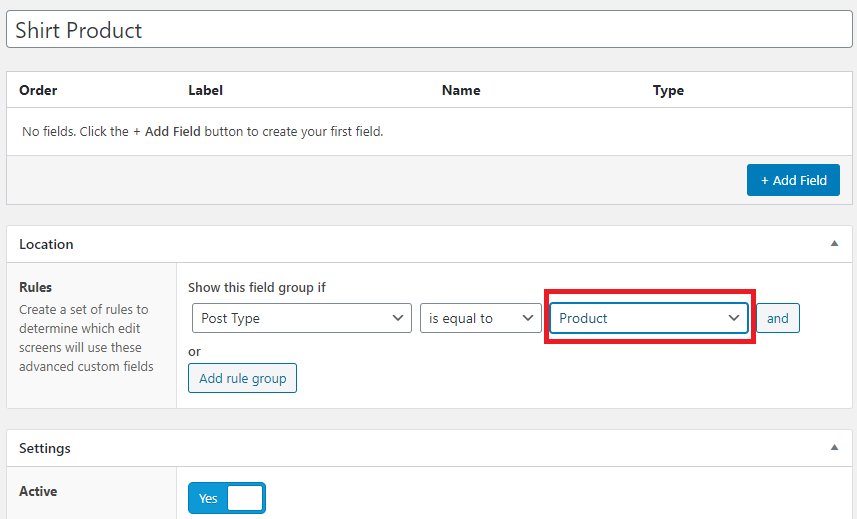
- Name your new field group. In this tutorial, we’ll name this field group “Shirt Product.”
- In the Location section, change “Post Type” into “Product.” This will make the custom field appear on your product’s Add/Edit screen.
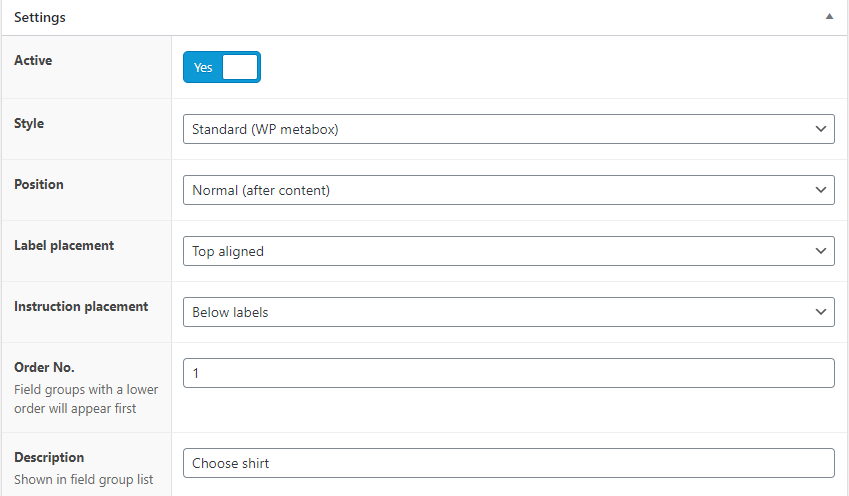
- Under Settings, ensure to set the Field Group active. This allows you to see your fields on product pages as well as displaying the field selections to clients.
- Next, you can define the custom field style, position and decide label and instruction placement on the product pages as well. This is all dependent on your personal preferences and how you want it to show up on the front-end. If you’re not sure for now, you can leave them as default and can come back to adjust later.
Add Your Custom Fields
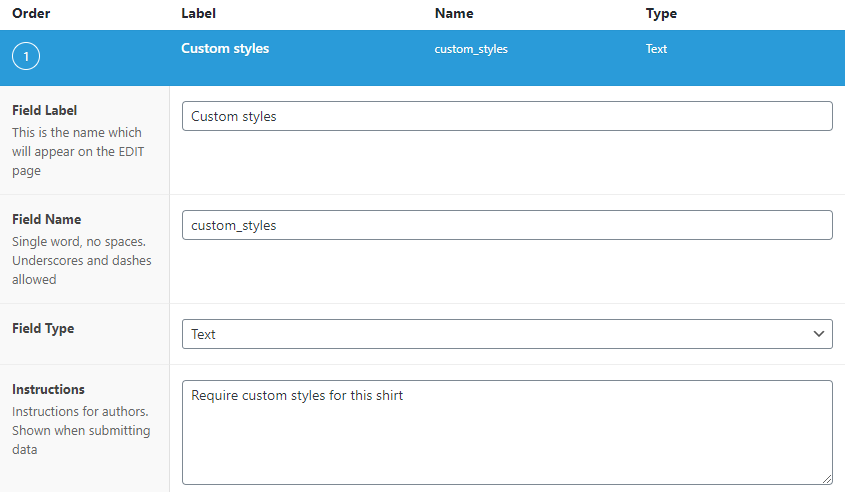
In this step, you need to create a custom field. Click “Add Field.”

Assuming that we’re selling clothes and would like to add a “Custom Styles” field that will be displayed beneath the product description on the product page. You need to fill in your Field Label, Field Name, Field Type, etc.
- Field Label: any name that you prefer. In this example, we choose “C.
- Field Name: the same as “Field Label.”
- Field Type: the field format. There are a lot of options that you can choose from the dropdown, such as text, checkboxes, date and time pickers, radio buttons, and tons more.
Hit “Publish” to save your changes.
Edit and Add Information to Products
- Back to your WordPress dashboard, click Product > All Products.
- Choose your desired product. Scroll down and you’ll see the custom field that you’ve already created.
- Add data, link, picture, or text field and hit “Update” the product page.

Display Custom Field Information on Front-end
We’re halfway through the journey of adding the custom fields to WooCommerce product pages. It’s time to put the finishing touches to this process.
As a matter of fact, though you’ve already inserted a custom field along with its information, the field can be invisible on the front-end. In other words, your product pages still remain unchanged.
To fix that, there are several ways to display custom fields and data on your site. Depending on your needs and coding knowledge, you can choose either to edit your PHP files, use a shortcode, or search the help of Elementor Pro.
- Edit PHP files: this method requires you to have technical knowledge. Don’t opt for this if you are a complete non-techy.
- Use shortcodes: this is the simplest and quickest solution to display custom field information on the front-end. This is also our preferable choice.
- Use Elementor Pro: with this option, you’re free from modifying the PHP files. However, you have to switch to Elementor Pro templates.
To display custom field information using shortcodes, what you need to do is:
- Paste the following code snippet in the Product short description. Remember to replace “field_name” with your actual field name.
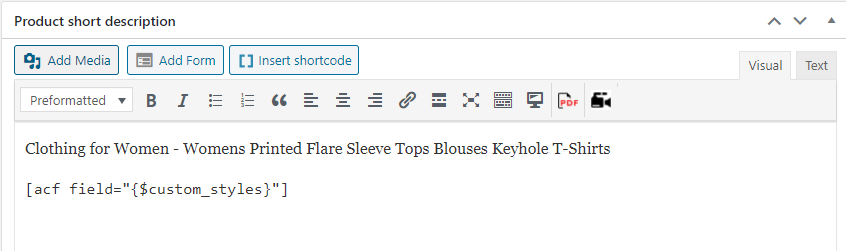
2. Scroll up and hit “Update.” An extra custom field now should be shown up on the front-end of your product pages.
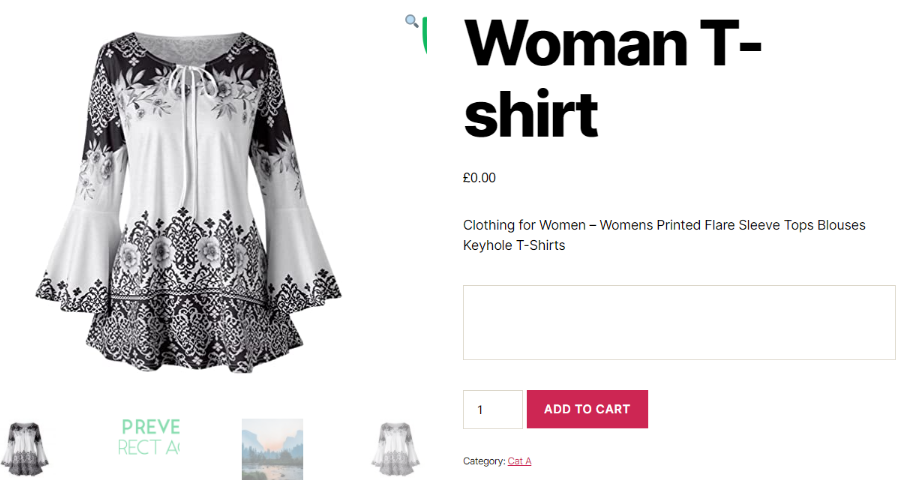
The process of adding custom fields to WooCommerce product pages now comes to an end.
Conclusion
It’s beneficial to add a custom field to your WooCommerce product pages. This helps provide additional product data as well as supporting customers to specify their products.
The advantage of using ACF over other alternatives is you can place fields on any location of your site without hassle. Plus, it possesses a simple and intuitive user interface, which makes you add custom fields to your WooCommerce product pages with ease.
The knowledge you gain from this article can help you unlock the full potential of your product pages and maximize your conversion.
Besides ACF, have you used other plugins to add custom fields for your WooCommerce product pages? Share with us in the comment below!