You may stumble upon various file upload forms in real life, such as job applications, product reviews, and customer responses. They are the simplest yet most effective way to collect data, including files, photos, audio records, and so on from your site visitors.
It’s necessary for WordPress sites to offer users a means of uploading files. However, WordPress doesn’t include any built-in file upload forms for users. Even if you use plugins to create forms, WordPress still puts strict limitations on the file formats.
Today, we will guide you through how to create a file upload form in WordPress with the help of reputable WP Forms. Besides, we also reveal an effective tip to upload additional types of files in WordPress.
In this article, we cover:
- How to create file upload forms in WordPress using WP Forms
- Allowing WordPress to upload all file types
How to Create File Upload Form in WordPress Using WP Forms
First and foremost, you should choose the right upload file plugin for your site. In this tutorial, we will be using WP Forms, as it’s one of the most powerful and user-friendly plugins. Creating a file upload form with WP Forms is a breeze since it provides tons of pre-built form templates and numerous fields to customize. On top of that, the plugin allows you to upload a wide range of file types without hassle.
To create file upload forms with WP Forms, you need to install and activate the plugin first. Once the plugin is activated, you’re ready for the next steps:
Step 1: Create a new form in WordPress
Step 2: Install the Form Templates Pack addon
Step 3: Add form name and choose templates
Step 4: Customize your file upload form
Step 5: Configure form settings
Step 6: Publish your WordPress file upload form and view the uploaded files
Let’s get started!
Step 1: Create A Contact Form in WordPress
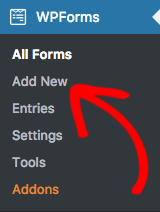
- In your WordPress dashboard, go to “WP Forms” and click “Add New.”
Step 2: Install the Form Templates Pack Addon
- In the WP Forms menu, click on the “Addons” link. This will take you to the WP Forms Addons screen.
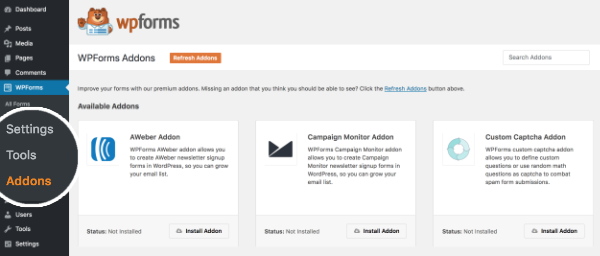
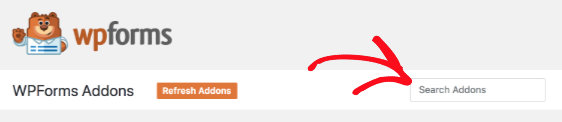
- Search for the “Form Templates Pack” addon in the “Search Addons” bar.
- When the addon shows up, click “Install,” which will get the addon automatically installed and activated. If you see the active status on the bottom-left corner of the page, it means the addon is ready to use.
- To view new template options, go to “WP Forms,” click “Add New.”
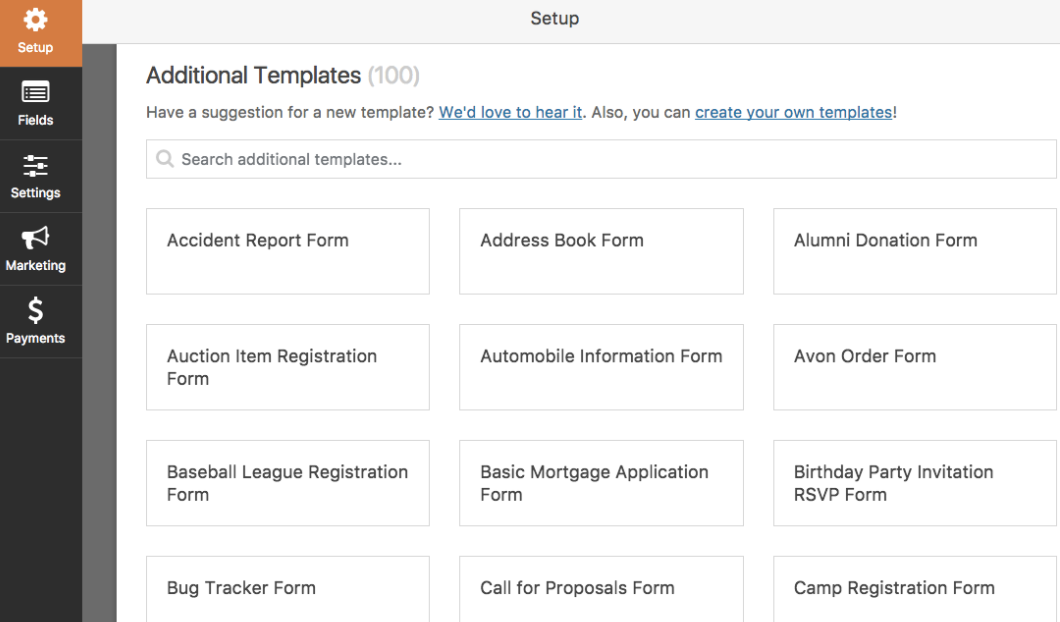
- The template option screen will appear. Scroll down and you’ll see a section called “Additional Templates.”
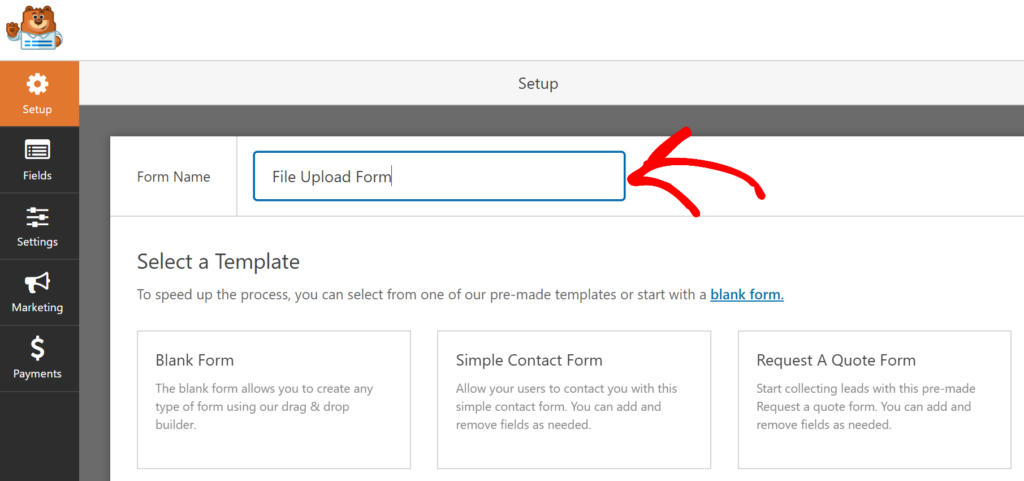
Step 3: Add Form Name and Choose Templates
- Now, back to your new form, type the form name and look for the File Upload template in the “Additional Templates” section. Then start to customize your form.
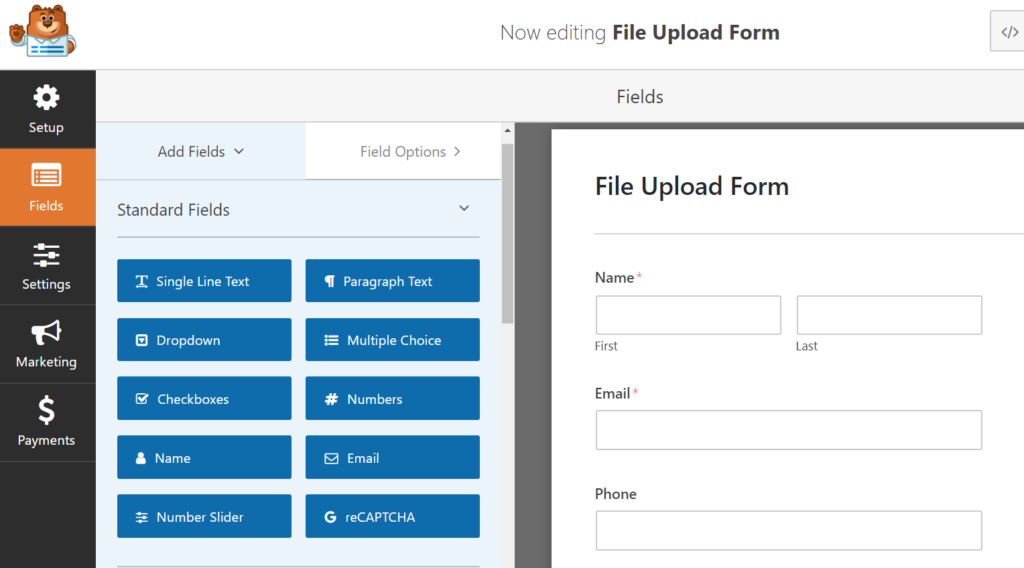
Step 4: Customize Your File Upload Form
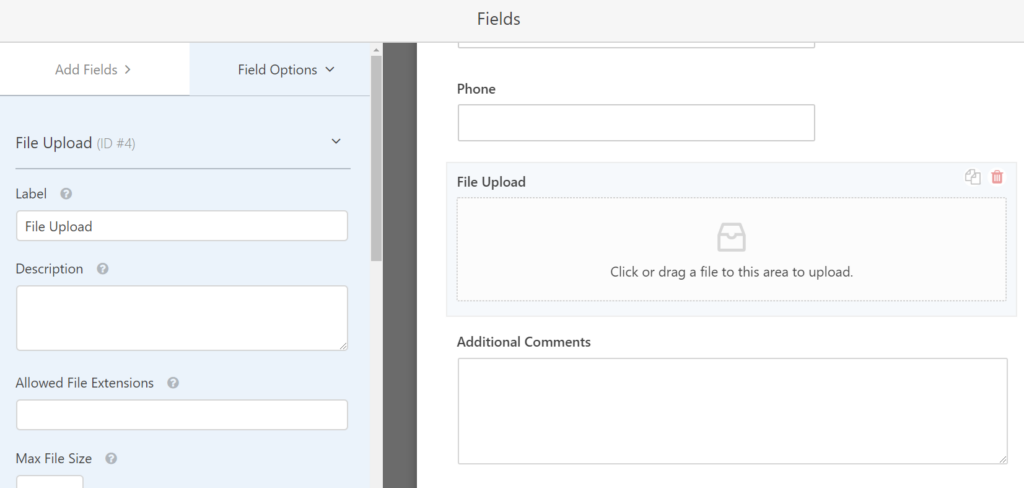
- The template already includes some basic fields, such as name, email address, file upload options, and additional comments. To mark the form with your style, you can add more fields and edit options per field, including a checkbox field, a dropdown menu, ratings, or a password.
- Visit the “Field Options” tab in the File Upload field and you can do further configuration. Here you can write a description or limit the file extension and sizes. Along with that, the “Advanced Options” tab will let you enable conditional logic or show or hide fields based on the user’s selection. When you’re done, hit “Save” to save your customization.
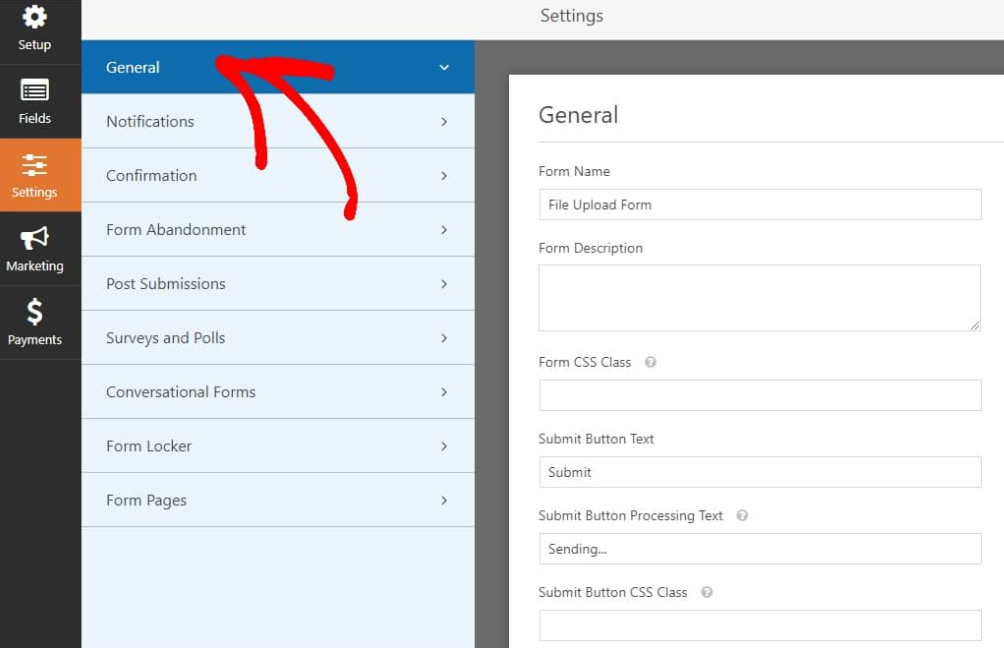
Step 5: Configure Form Settings
In this step, you can modify not only general settings but also your form notification and confirmations.
- Click “Settings,” choose “General” then enter the description of your form and the text of the submit button.
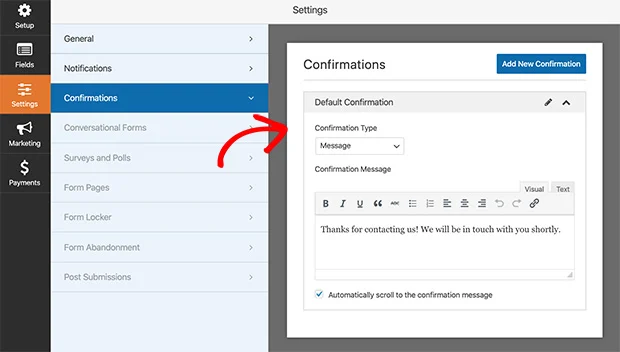
- What you need to do next is setting up your email notifications and confirmation messages. Under the “Notifications” tab > “Send To Email Address” field, fill in the email address to which the messages will be sent.

- After that, click on the “Confirmations” tab, which offers you 3 options for successfully submitting confirmation. You can either choose to display a message, a thank-you page, or redirect users to another website after they submit their forms. Click “Save” to save all your changes.
Step 6: Publish Your File Upload Form and View Uploaded Files
Now, it’s time to publish your form. WP Forms flexibly enables you to embed a form into your WordPress page, post, or sidebar.
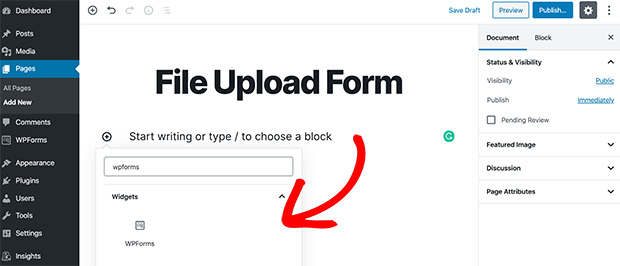
- First, create a new WordPress page or open an existing one. Click on the plus icon to insert a new content block. Type “WP Forms” in the search bar and you’ll see WP Forms widgets show up. Let’s click on it.
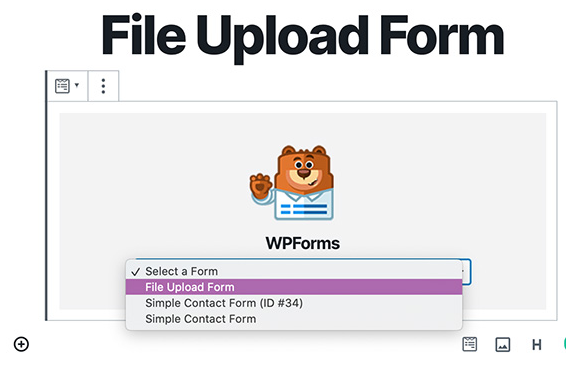
- Next, select the file upload form that you already created in the drop-down menu. Click “Publish” and you’re done.
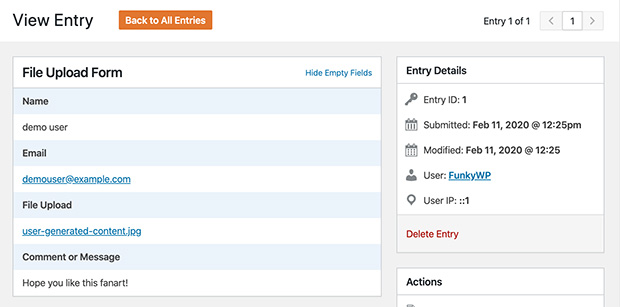
- To view uploaded files, head to “WP Forms” and select “Entries.” Click “View “to see the file details.
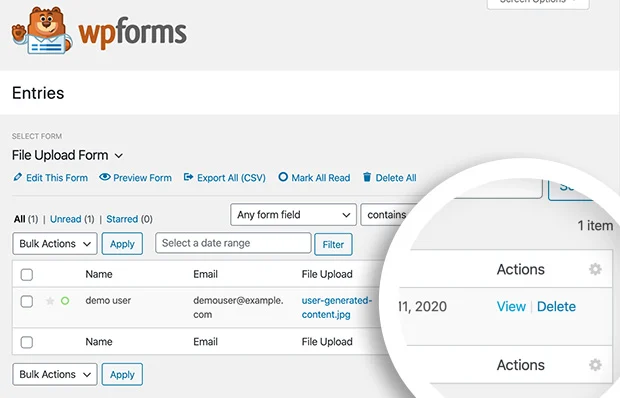
- A new browser tab will open. The image below describes the typical information that the form collects.
That is! You’ve completed creating a file upload form in WordPress with the help of WP Forms. Now we will put the finishing touches to your perfect forms, which is allowing WordPress to upload all file types. Don’t worry! It’s not rocket science.
Allowing WordPress to Upload All File Types
Due to security reasons, WordPress limits several kinds of file extensions. It allows only some certain file types to be uploaded, for example: images (.jpg, .png and .gif), documents (.doc, .xls, .ppt, .pdf), audio files (.wav, .mp3, .mp4) and videos (.mpg, .mov, .wmv).
As such, there will be an error message displayed on your screen if you try to upload the file with .exe, or .xlsx, .xml formats, or any format that isn’t included in that list.
To avoid users from having uncomfortable experiences, you need to provide a file upload form accepting flexible file types. To do so, you need to paste some code snippets to your functions.php file or use a plugin.
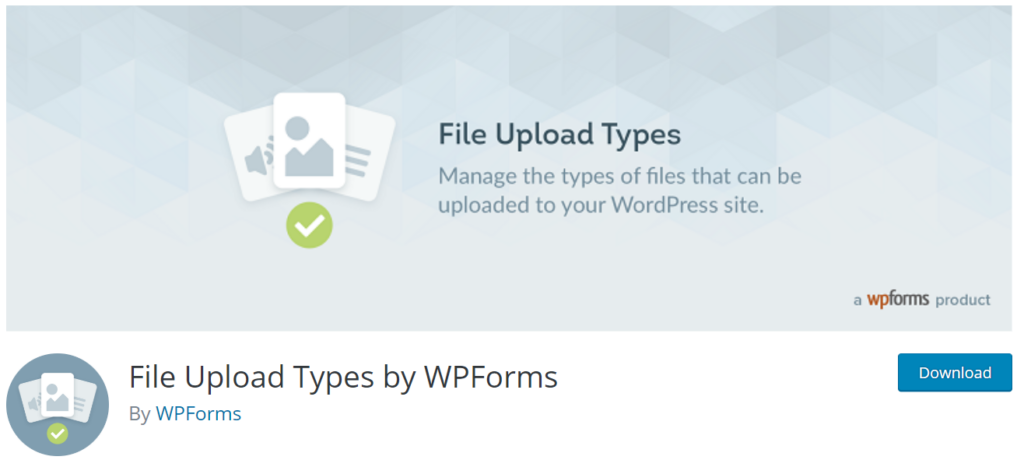
Considering configure the functions.php file may make your site broken, we suggest you opt for a safe option, that is using a WordPress file upload plugin. Among thousands of products out there, File Upload Types by WP Forms sticks out to be a free and easy solution.
How to upload additional file types to WordPress using the File Upload Types by WP Forms plugin?
After getting the plugin installed and activated, you need to set up different file types for your site.
- Navigate to “Settings,” click “File Upload Types.” This will open a list of file types along with their descriptions, MIME type, and extensions. Simply check the box for the ones you want to accept on your site. Save your adjustment by clicking the “Save Changes” button.
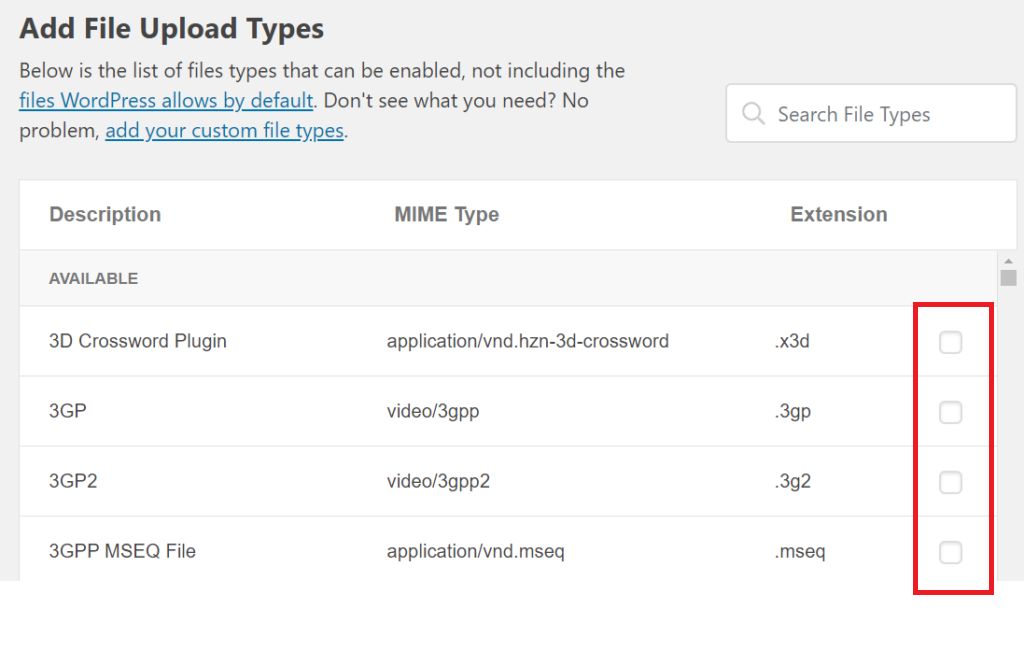
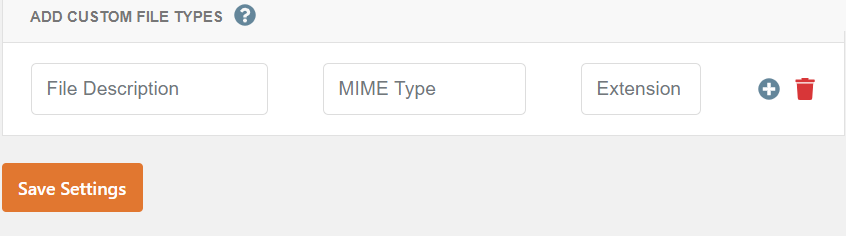
In case you can’t find your desired file types in that list, scroll down and you’ll bump into the “Add Custom File Types” option. Here, you have to fill in the file descriptions, MIME type, and extensions of your custom file then hit the plus icon. Click “Save Settings” to finish this process.
Conclusion
We’ve gone through 6 straightforward steps to build a file upload form in WordPress using WP Forms. We also provide a workable solution for uploading additional file types in WordPress.
Adding the file upload capability to your forms helps you gather information from users way easier.
If you get stuck on any step above, feel free to let us know via the comment section below. We’re willing to work it out!