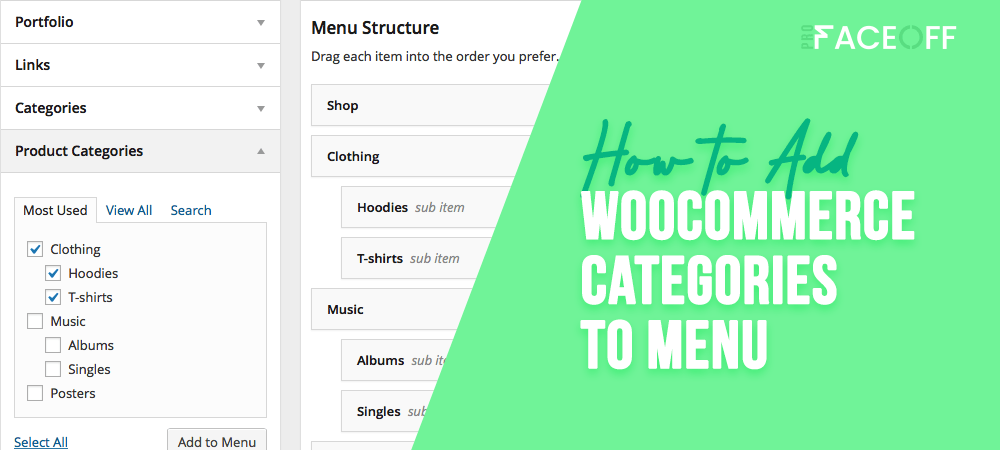
WooCommerce product categories are used to group products with similar features. Thanks to this function, you can create categories with custom names such as “top wear”, or “accessories”. And you can even subdivide these categories as “shirts”, “trousers”, “swimsuits”, and so on.
Shoppers search product categories to find specific products. So, adding these categories to the menu is a simple way to make the browsing experience much more enjoyable.
In this article, we’ll show you how to add WooCommerce categories to menu. But first, let’s take a closer look at the benefits they bring.
- Why Should You Add Product Categories to the Menu?
- How to Add a WooCommerce Categories to Menu
- Best Plugins to Add WooCommerce Categories to Menu
Why Should You Add Product Categories to the Menu?
Do you know that you can increase your sales and revenue by adding your WooCommerce store to the menu? It can improve the shopping journey in your store, along with a great checkout page and a professional-looking theme.
Having a clear and well-designed menu will help users navigate your site more smoothly. A menu contains important information, so it is often at the top of a site. Since you have tons of products, categories, and subcategories, keeping your menu organized is a difficult task. But it’s not impossible.
That’s the reason why inserting WooCommerce product categories to menu can upgrade your site navigation. For example, let’s say a customer wants to buy a skirt from your online store. How much will her conversion rate increase if she goes directly to the skirts section from the menu and easily finds the item she is looking for?
Obviously, better navigation helps you promote the customer experience and boost your conversion rates. Research shows that sales are higher where it’s convenient for customers to reach the products they are looking for. On some complex-looking sites, in which customers’ browsing time is limited to seconds, they would leave the site immediately!
How to Add a WooCommerce Categories to Menu
We will guide you on how to add WooCommerce categories to your website in 2 different ways:
- Manual method
- Plugin
#1 Add WooCommerce Categories to Menu Manually
This method suits the beginners, because no extra tools are required and the process only takes a few minutes.
- To get started, go to Appearance > Menus in your WordPress dashboard after logging in.
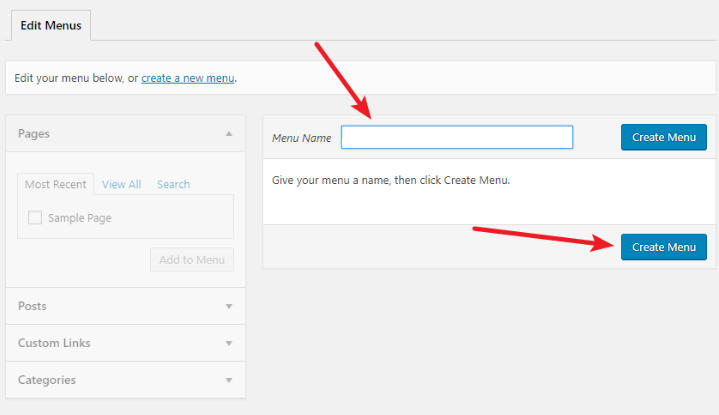
2. If you’ve just configured basic options, you probably won’t see any menus. We will create a WooCommerce category menu by assigning it an appropriate name. Then, click on the Create Menu button.
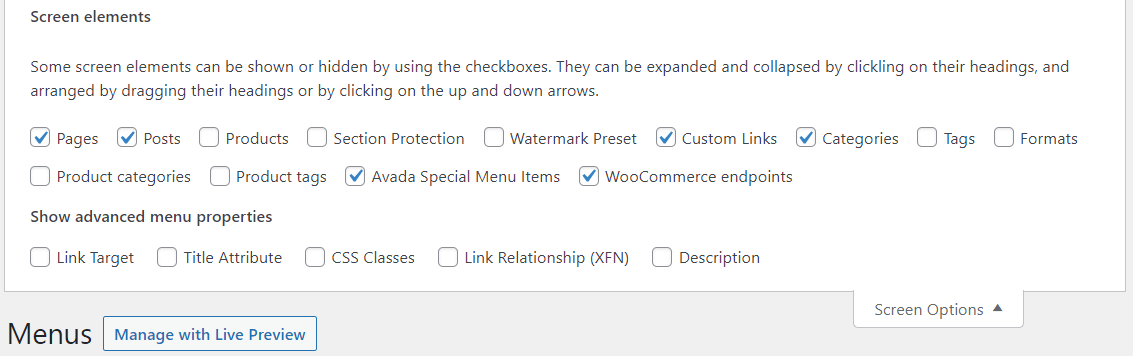
3. In the left panel, you can see a list of items that can be added to the menu. They include pages, posts, product categories, and so on.
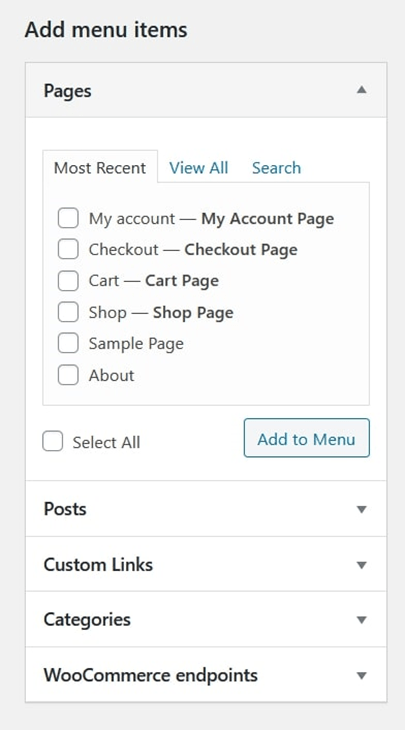
You can’t see the WooCommerce products and categories option? Don’t worry. Go to the Screen Options settings, where you will find that Product Categories and Products options are not checked. Simply check these options to add them to the list.
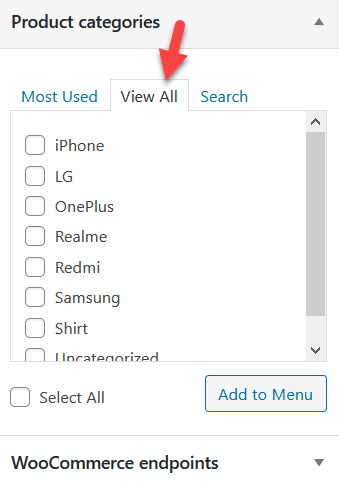
4. Next, open the WooCommerce Product categories section to pick the available categories. From the View All tab, you can view all of the product categories. Select your desired ones and add them to your menu, or include specific categories.
This way, you can quickly display WooCommerce product categories in your menu.
As mentioned, it’s not the only way. On the other hand, you can ask for the help of a plugin to add WooCommerce categories to menu. With this method, you do not need to spend time coding and changing the settings step by step. That is why it is often preferred.
#2 Add WooCommerce Categories to Menu Using Plugin
We recommend using the Max Mega Menu plugin to add WooCommerce categories to menu. Before moving on to the steps, let’s take a quick look at the plugin.
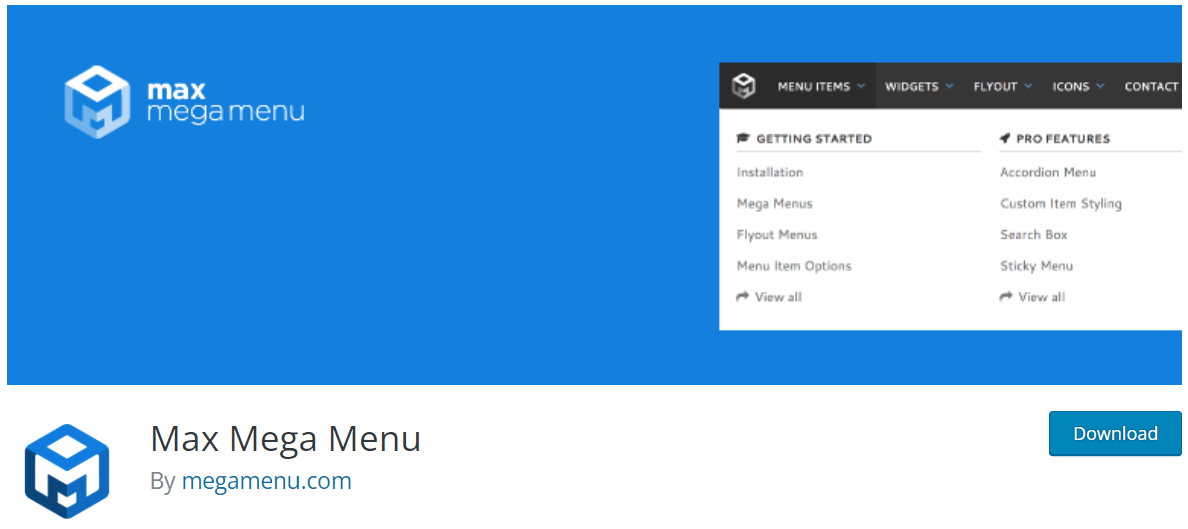
Max Mega Menu is a plugin to automatically convert your current menu or menus into a mega menu. You can add any WordPress widgets to your menu, customize your menu using the theme editor, and change the menu behavior using the built-in settings.
Max Mega Menu takes control over your current menu and turns it into a user-friendly, accessible menu.
- First, go to Plugins > Add New page, search for the Max Mega Menu plugin, and Install > Activate it.
- Once the plugin is successfully installed, go to Appearance > Menus and you will see the Screen Options section.
- Enable WooCommerce categories as in the first step of the manual method. Don’t forget to click on Save Menu before leaving.
- Style the Mega Menu layouts, icons, and text to your liking.
Besides Max Mega Menu, we will list other top plugins for you.
Best Plugins to Add WooCommerce Categories to Menu
If the results so far have not met your expectations, or if you want to give other plugins a chance, you have options other than the Max Mega Menu. We’ve put together a list of the top 4 best WooCommerce plugins for displaying WooCommerce categories in the menu, based on their popularity and features they have.
Let’s dive in!
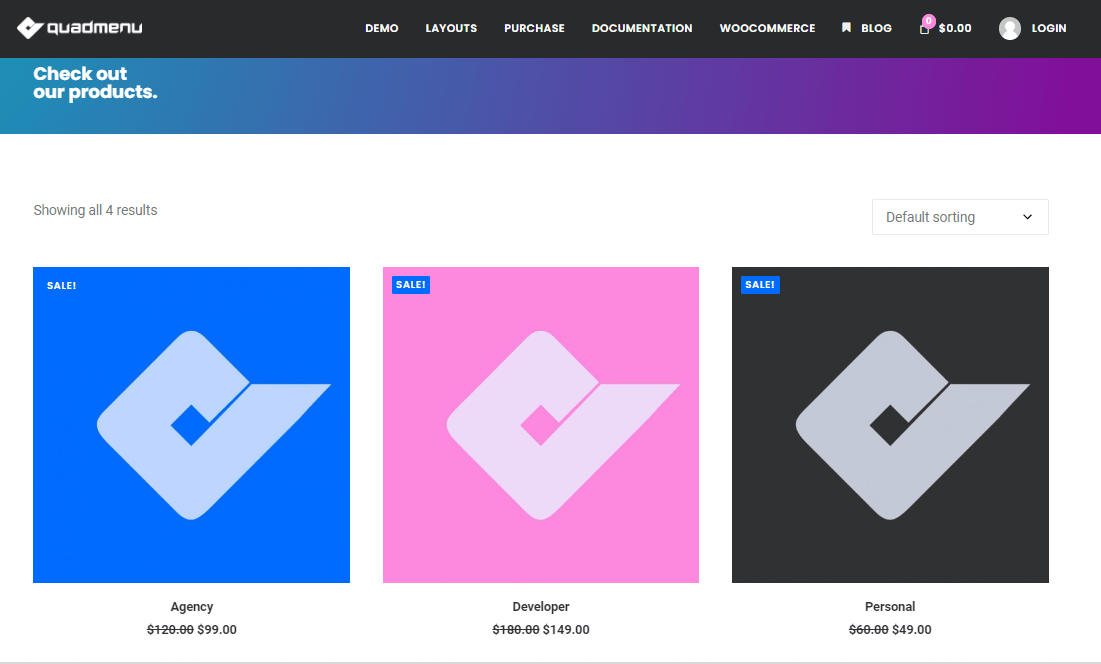
#1 QuadMenu
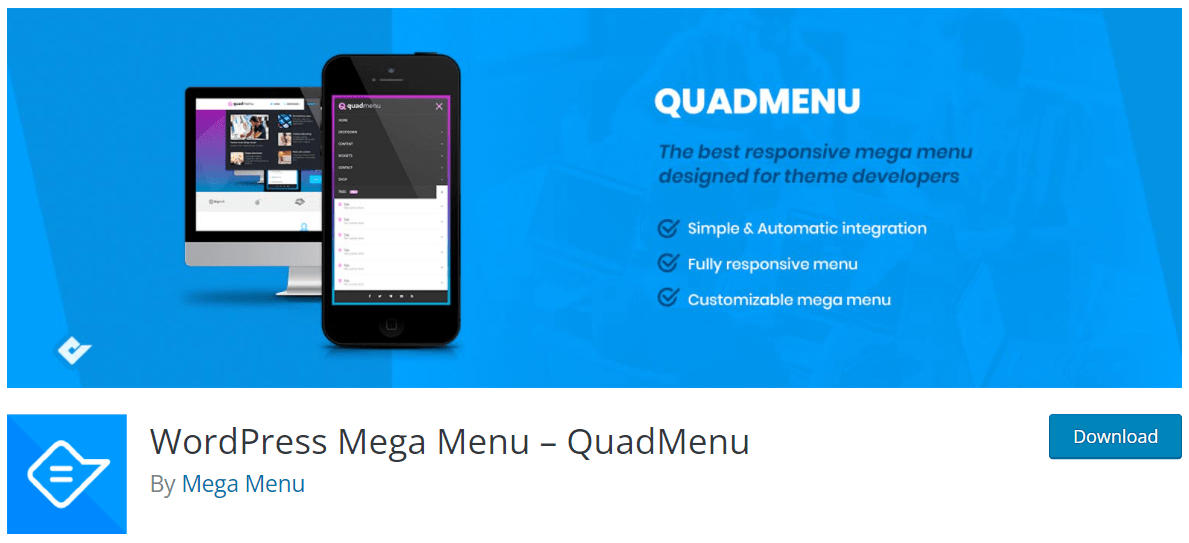
QuadMenu assists you quickly to add a mega menu and categories to your WordPress theme’s design. With this plugin, you can create mega menus and tab menus. It enables seamless integration with easy and automated methods.
Features:
- The menu adapts perfectly to any devices.
- You can add or delete fields in the mega menu as well as changing the options by dragging them.
- The menu is simple to use and the mega menu selections are customizable.
Pricing:
QuadMenu plugin offers you 3 options for pricing as Agency, Developer, and Personal. While the access restrictions and features of each are different, you can choose the one that suits your needs.
Prices also vary depending on the access restriction. Current discount prices are as follows:
#2 YITH WooCommerce Category Accordion
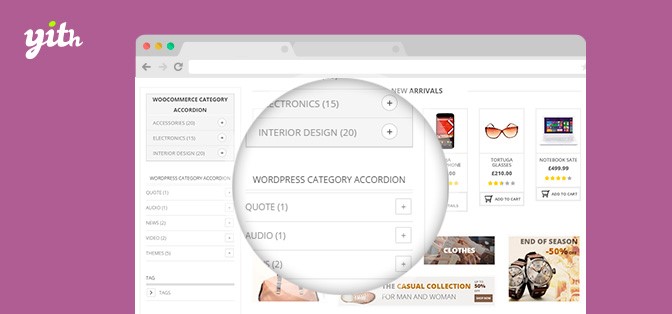
With the YITH WooCommerce Category Accordion plugin, you can choose which product categories and subcategories to show in the accordions. At the same time, you can give a nice accordion menu to the WooCommerce categories.
Features:
- It enables users to create an accordion menu with options to display only the pages they need.
- It can be sorted into varying detailed categories, such as Name, WooCommerce Order, and Number.
- Colors and styles of accordions can be customized.
- While the visitor is on the main category page, he can keep the subcategories open.
Pricing:
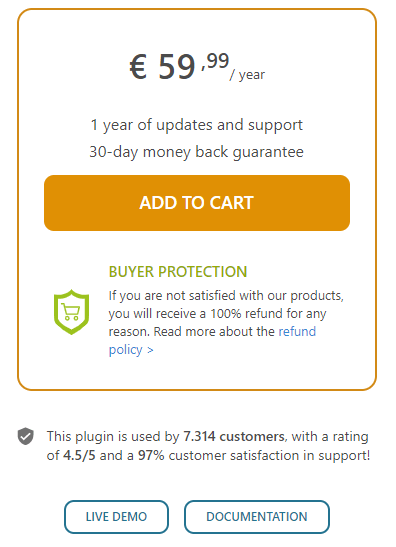
The Premium version costs you $59,99 per year. This is a one-time price for full access. There may be discounts on some special days. Stay alert!
#3 WooCommerce Category Accordion by TechieResource
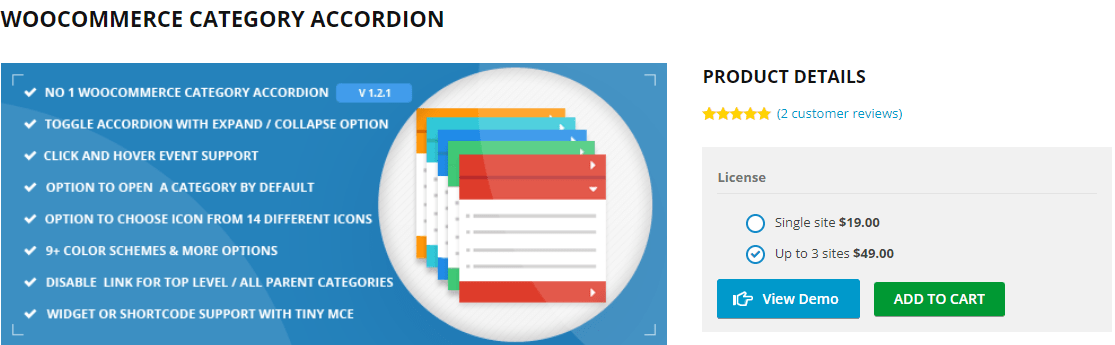
WooCommerce Category Accordion by TechieResource encourages you to add an accordion widget or shortcode to your site effortlessly. It displays WooCommerce categories and subcategories that can expand or contract in a vertical accordion.
Features:
- It provides customization options with 9+ color schemes and 14+ font icons.
- You can change the TinyMCE editor shortcode that can be used on any post or page.
- It can highlight the current product category and subcategory.
Pricing:
WooCommerce Category Accordion’s regular license offers 2 options. You can select this plugin for a single site and can also use it for up to 3 sites. While the price is $19.00 for a single site, it is $49 for up to 3 sites.
#4 Woocommerce Sidebar Category Accordion
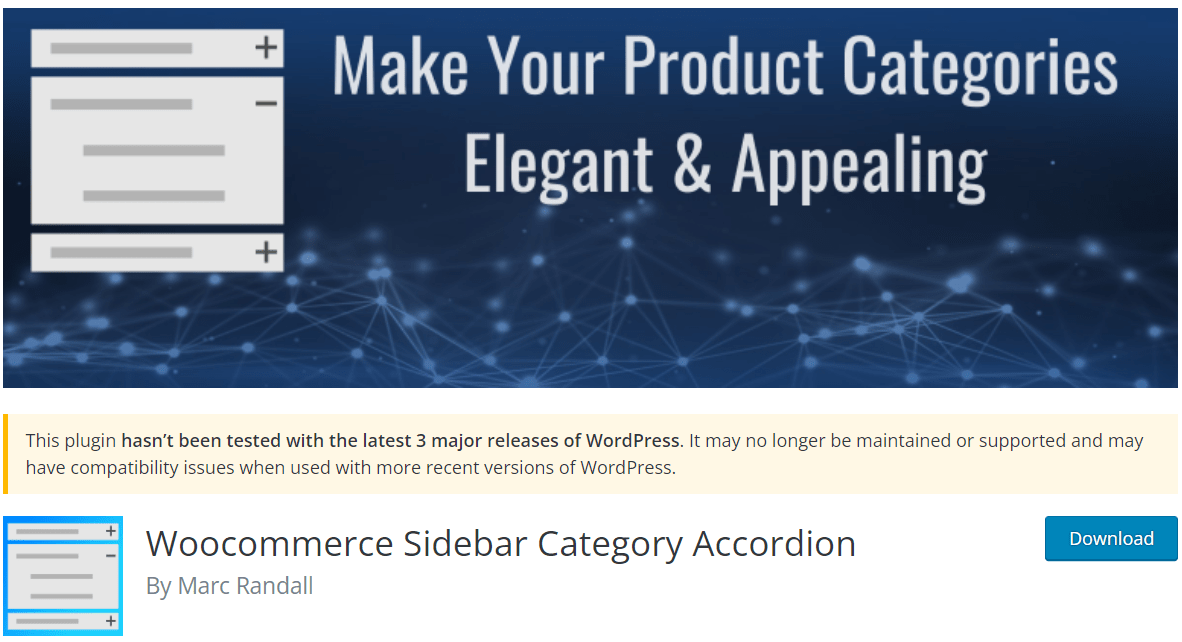
Last but not least, WooCommerce Sidebar Category Accordion will be of great support when adding WooCommerce categories to menu. While the tool is free, there’s no limit to the number of categories you can have.
Features:
- It allows an unlimited number of subcategories.
- As soon as the website is loaded, the categories will be expanded.
- It has additional styling, and the appearance of your themes can be customized by the CSS editor.
Let’s Get This Road on the Show!
The key to having a successful online store is making sure the site is friendly and convenient for customers. Considering the importance of menus, having WooCommerce categories in menu is an effective way to improve your website’s performance. Not only that but also increase the conversion rate of visits to your site.
In this article, we’ve discussed 2 simple methods to set it up and utilize it.
It’s especially best for beginners to add product categories manually, which only takes a few minutes. You can use the WordPress customizer or the default WordPress menu settings to modify them. That’s why the customization options can be pretty straightforward even if you don’t have coding skills.
On the other hand, you can customize menus with plugins. Many tools allow you to take full control over your menu, font icons, Google fonts, colors, layout, etc.
Do you find the article useful? Let us know in the comment section below if you need any assistance.
Once you’ve added WooCommerce categories to menu, you may need to show different menus when logged into WordPress.