Most business owners believe that having a well-designed website with great SEO is enough to attract visitors. After all, what will you receive if they just surf around your site and leave without taking any action?
Each site is designed for a specific goal. While blog sites update content and news, commercial ones are used to sell products and services. Whatever types of sites you own, having users take certain actions is a requirement after reading the content. It’s a waste of both your and visitors’ time to let them just scroll down and close the window.
That’s why you need to add a Call-to-Action (CTA) to your site, even on landing pages or blogs to boost conversions. However, not all business owners understand the roles of CTA in growing sales and revenues.
In this article, we’ll briefly explain what a Call-to-Action means, its benefits, and factors to create an outstanding one. Then, we’ll also show you how to add a CTA to your WordPress site with and without code.
- What is a Call-to-Action?
- Create a CTA Button with WordPress Default Editor
- Create a CTA Button Using Plugin
- Bonus Tip for Adding Custom Buttons in WordPress
What is a Call-to-Action?
A Call-to-Action refers to the next step designed for the audience or reader to take. It can be a product sale button, a form to sign up, or simply a link to read the related article.
Each type of content should have a different CTA. A sale page should display a winning buying button. On the other hand, you should add a newsletter form in articles to ask them to subscribe for more content updates. Below are some example of typical CTAs:
 or
or
What Makes an Outstanding CTA?
Your Call-to-Action should be attractive enough to engage users to take the desired action. It’s required to be well-designed and carefully placed. Consider the following factors to personalize your CTAs:
- Button style – The look and feel of the Buy button mostly decide visitors’ action. It should be large enough and clickable to draw attention. The colors and text on the button play an important role in keeping their interest too. It must give shoppers the feeling that they’ll miss something huge if they don’t purchase this product.
- Placement – Where you put the CTA also impacts the effectiveness of the marketing campaign. The Buy button should be placed next to the product description or product images. The subscription form, meanwhile, will best perform as a popup or at the bottom of the page.
- Options – It’s necessary to have several types of CTA on your site. However, you should limit the number of these options on one page. One page should contain one or two CTA maximum.
You’re able to create a WordPress CTA button in 2 main ways: use default features or seek help from a supporting tool. The former allows you to add a button block in the default classic editor or adjust the CSS file. Meanwhile, you simply install a plugin and let it do all the work with the later method.
Create a CTA Button with WordPress Default Editor
This built-in solution enables you to add a button to your WordPress pages and posts. The 3-step-guide below will show you how to get started:
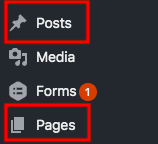
- Add a new post or open an existing one in the Posts/Pages section.
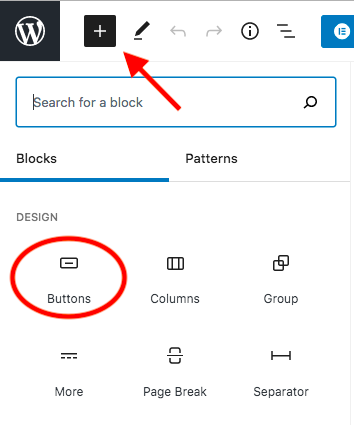
- Click the “+” icon at the top of the editing screen and choose the “Buttons” block.
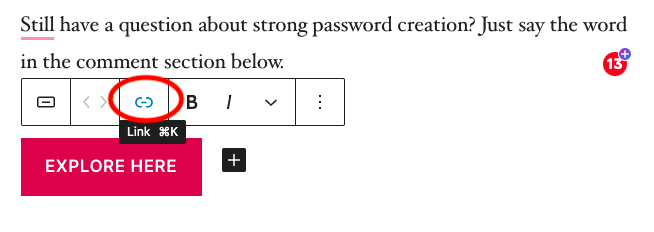
- Type the text for the button.
- Insert the link by clicking on the link icon.
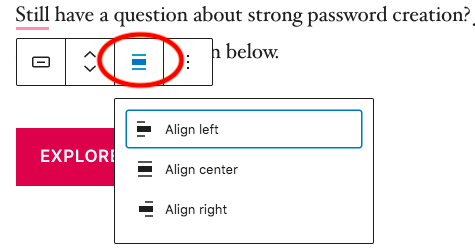
- Change the button position by clicking the Align icon.
- Adjust the button style, colors, and other elements in the right side menu.

- Save your change and update the page or post.
Creating a WordPress Button Using CSS
The default editor seems easier to add blocks and build pages. Still, many users can’t get used to it and prefer the classic editor. This situation requires you to either use CSS code or install a button plugin.
Follow these 4 simple steps to add code to your CSS file:
- Head to Customize under Appearance in your WordPress admin dashboard.
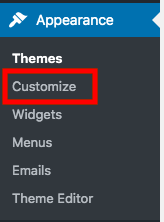
- Select Additional CSS option.
- Copy this CSS code and paste it there.
.button-demo {
-webkit-border-radius: 5px;
-moz-border-radius: 5px;
border-radius: 5px;
color: #0059A0;
font-family: Open Sans;
font-size: 15px;
padding: 20px;
background-color: #3D94F6;
border: solid #0059A0 1px;
text-decoration: none;
cursor: pointer;
}
.button-demo:hover, .button-demo:active {
background-color: #612AD0;
}
This method is not designed for beginners though. To deal with coding hassle, it’s recommended to use a shortcode button plugin.
Create a CTA Button Using Plugin
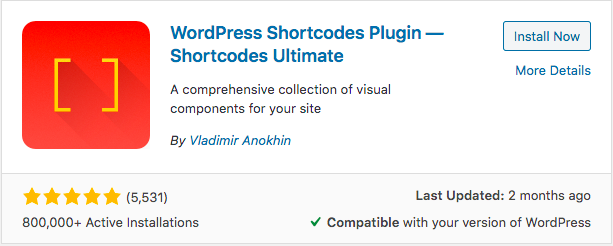
Shortcodes Ultimate comes as one of the most popular plugins to add elements to your pages and posts. It provides a collection of more than 50 shortcodes to create buttons, boxes, sliders, and much more to your content.
The plugin works with any themes and is responsive design. You don’t have to worry about the conflict between themes and plugins. Here is how to get started using Shortcodes Ultimate:
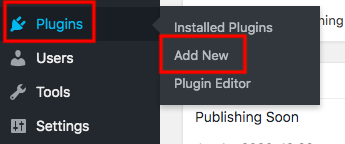
- Go to Plugin → Add New in your WordPress dashboard.
- Type “shortcodes ultimate” in the search box.
- Install and activate the plugin.
- Open the Shortcodes → Available shortcodes section in the admin navigation menu.
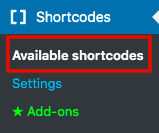
- Choose the “Button” option in the list and copy the shortcode.
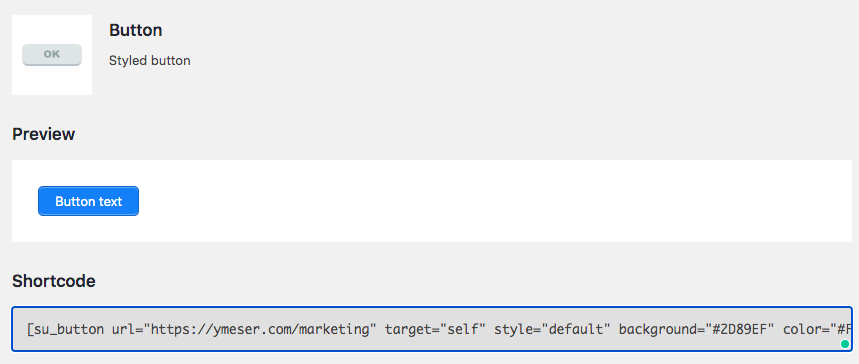
- Head to your desired page or post and paste this shortcode at the place you want to display the CTA button.
- Adjust the shortcode to customize your buttons such as the style, colors, or texts.
Bonus Tip for Adding Custom Buttons in WordPress
In case you wish to move the button customization to a higher level, we recommend using WordPress page builder plugins such as Beaver Builder, Divi, or Elementor. These comprehensive plugins support you in easily dragging and dropping blocks, changing styles, and adding sections.
Your landing pages and custom posts will look super fancy which also affects visitors’ browsing experience.
Besides creating an outstanding Call-to-Action button, you should also pay attention to its effectiveness. You can create different CTAs and track their clicks to see which is performing the best.
Personalize Your WordPress Call-to-Action
It’s important to understand what your business offers and drive users to take certain actions. The more conversions you receive, the higher chance you can get customers and grow the business.
You’re able to create a Call-to-Action in WordPress default editors, via CSS adjustment or using a third-party plugin. The first method limits you in customizing your buttons. The second one, on the other hand, isn’t really beginner-friendly. Lastly, the plugin option gives you the right to customize your button per your taste without hassles.