WooCommerce is the most popular WordPress eCommerce plugin with over 3 million active installs. And it is preferred by almost everyone who sells products on their site. On the other hand, Instagram has a clear effect on shopping for people who do eCommerce.
Instagram Shopping is an Instagram feature that lets you tag your products in photos and stories, and users can link directly to your site.
This way, you allow potential customers to reach your site with one tap while browsing Instagram. In other words, it provides an easy transition between your photos and your site. At the same time, you can select the relevant product, give detailed information about it, and list its prices in the shopping posts.
That’s why as a WordPress site owner, setting up WooCommerce Instagram Shopping is extremely effective for increasing your sales.
- Why Should You Sell Your Products on Instagram?
- Requirements for WooCommerce Instagram Shopping
- How to Integrate WooCommerce and Instagram
Why Should You Sell Your Products on Instagram?
Instagram’s popularity and influence are huge when it comes to brand promotion and overall user engagement. If you connect your WooCommerce catalog to Instagram and then list your products on your Instagram page, it will help you not only reach more potential customers but also boost your sales.
Because shoppable posts transport users directly to products on your WooCommerce site, using them will drive traffic from Instagram to your store. In other words, you streamline the customer’s journey by shortening the steps they are supposed to take to make the purchase.

Let’s list its advantages briefly:
- Instagram Shopping tags encourage your customers to discover the details and pricing of your WooCommerce products in a short and effective way.
- Your products are visible to more leads.
- It provides a faster transition from Instagram to your WooCommerce site.
- As a result, your sales are likely to increase considerably.
Requirements for WooCommerce Instagram Shopping
As of January 2021, those dealing with eCommerce have been actively exploiting Instagram Shopping. Before getting to know Instagram Shopping, we need to meet the following conditions in order to activate the Instagram Shopping feature:
- You must have an eCommerce site where you actively sell items. And the products must be added to your eCommerce site completely without errors.
- You need a Facebook account and a business account in Facebook Business Manager.
- You need to register an Instagram business account.
- You should sell physical products.
How to Integrate WooCommerce and Instagram
If your business satisfies these necessary conditions, and you want to take advantage of the benefits it will provide, you are ready to sell your WooCommerce products on Instagram.
Let’s start!
#1 Set Up WooCommerce
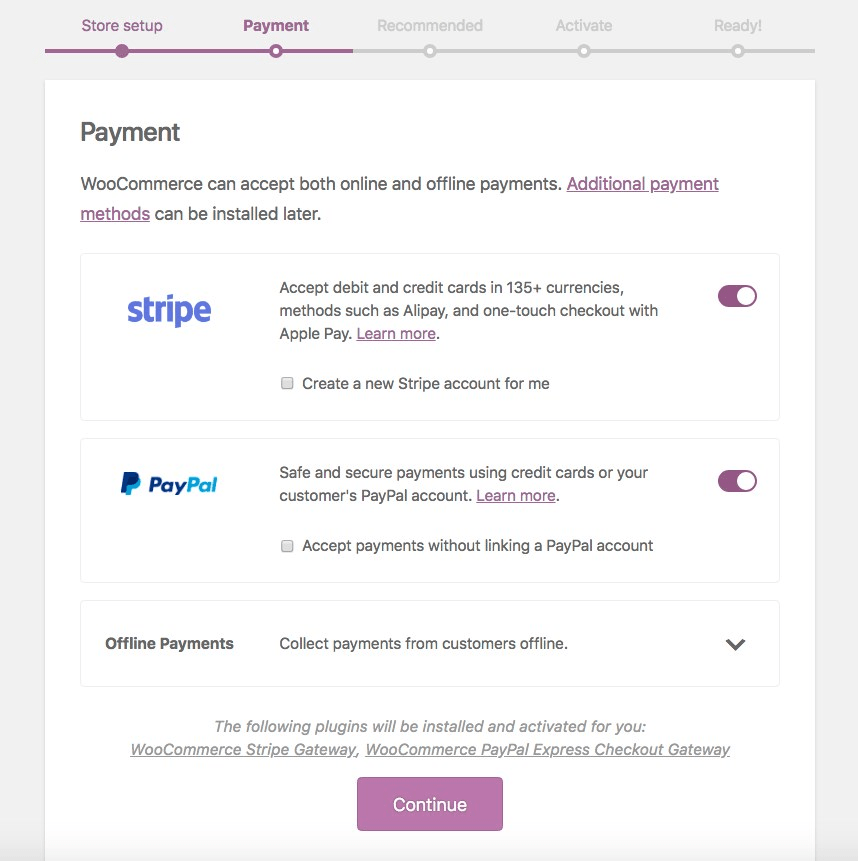
If you are not already using WooCommerce, you must first download the WooCommerce plugin on your WordPress site. Activate the plugin on your WordPress site. Then follow the WooCommerce Wizard to set up your store, payment method, and other settings.
Your choice of theme greatly affects the success of your store. Therefore, make sure that your theme is chosen correctly in general.
#2 Create a Facebook Page for Your Business Account
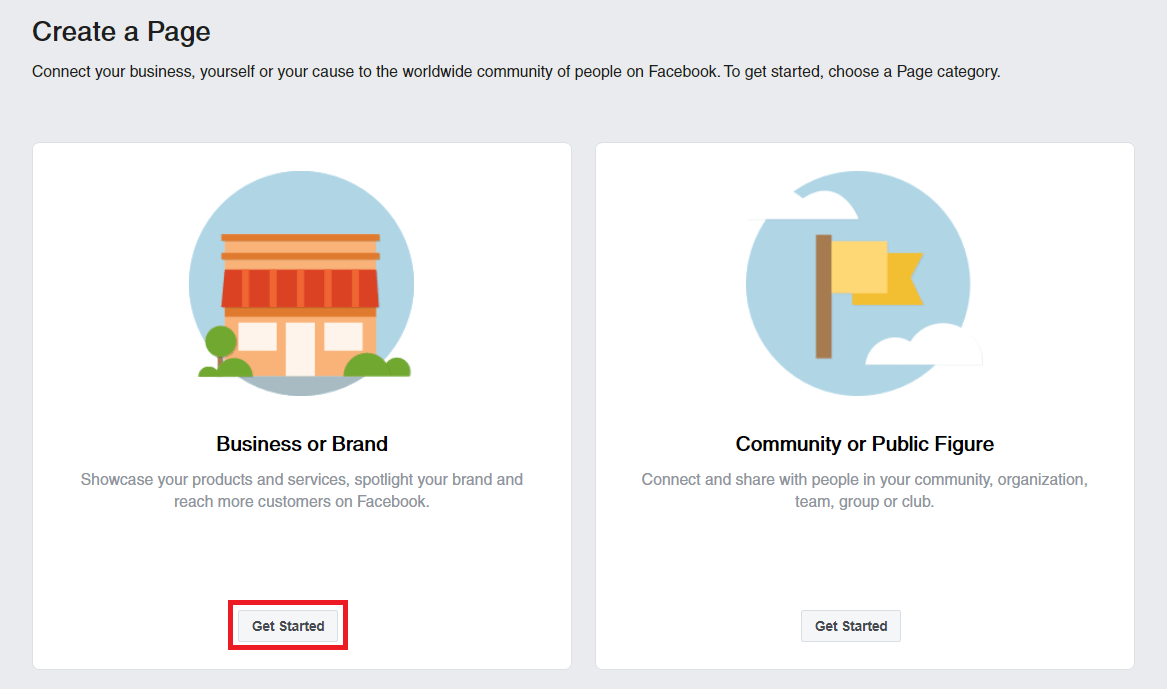
If you already have a Facebook account, go to facebook.com/create. On the left, select Business or Brand. Fill in information about your business and add photos.
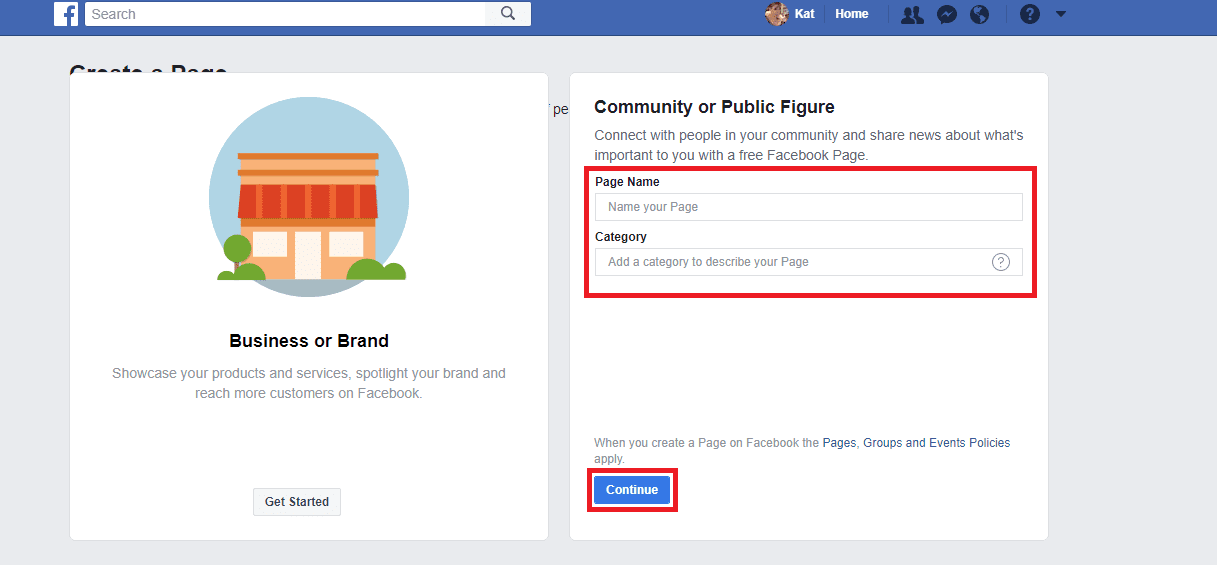
When you click the start button, fill in the name of the page, category, and necessary information. Then press the Continue button.
You can then add a cover photo to your page. After you finish setting up the page and hit the Publish Page button, your business page will be ready.
#3 Create a Business Manager Account
A Business Manager is a Facebook account that allows you to easily manage your business pages that you’ve created. You need a Business Manager account to activate Instagram Shopping.
To create a business manager, go to business.facebook.com and click the Create Account button in the top right.
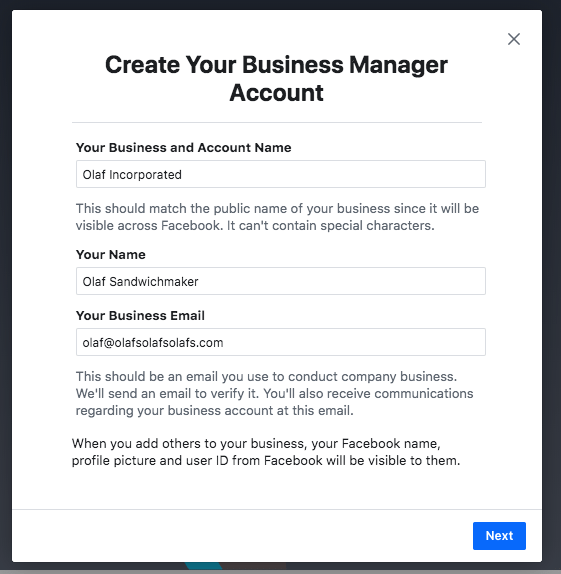
Enter the business name you want to use in your Facebook Business Manager account, your own name, and business email address, then click Next.
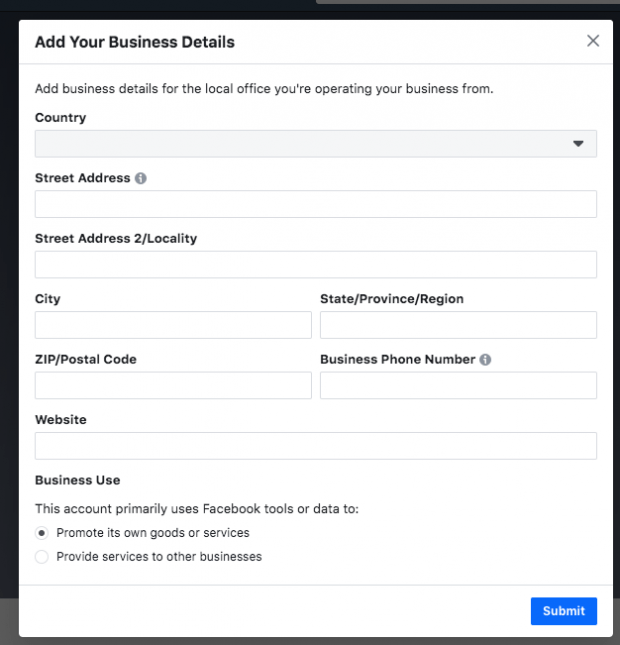
You will then be asked for your job details: address, phone number, and website information. You have to indicate whether you will use this business manager account to promote your own business or to provide services to other businesses. After filling in all the fields, click Submit.
#4 Create a Catalog
A catalog is a list of items you sell or advertise on Facebook. In order to connect Instagram to Facebook and eventually WooCommerce, you need to create one catalog in Business Manager. First, go to facebook.com/commerce_manager and select Get Started.
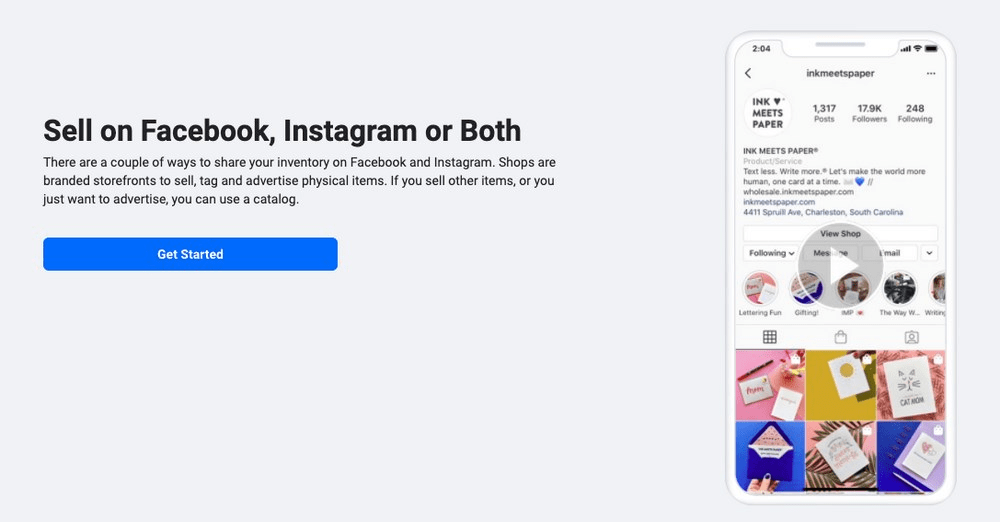
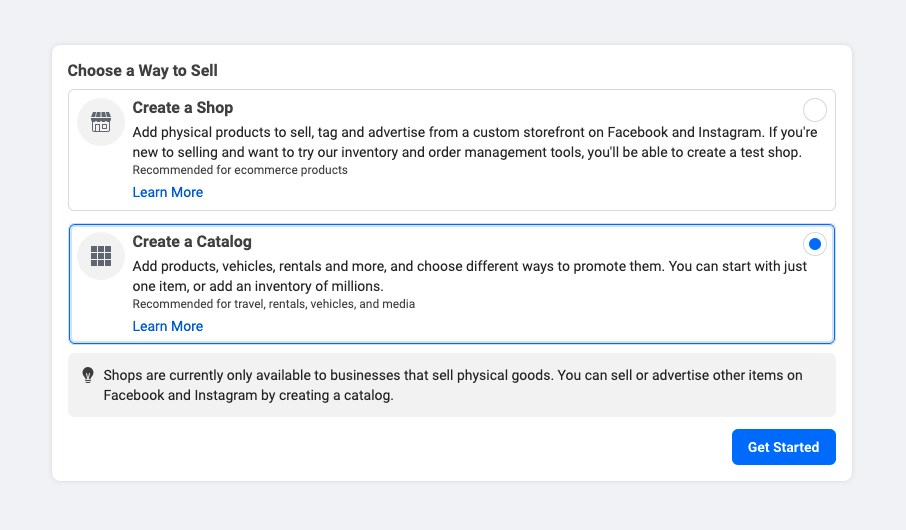
On the page that opens, select the Create a Catalog option.
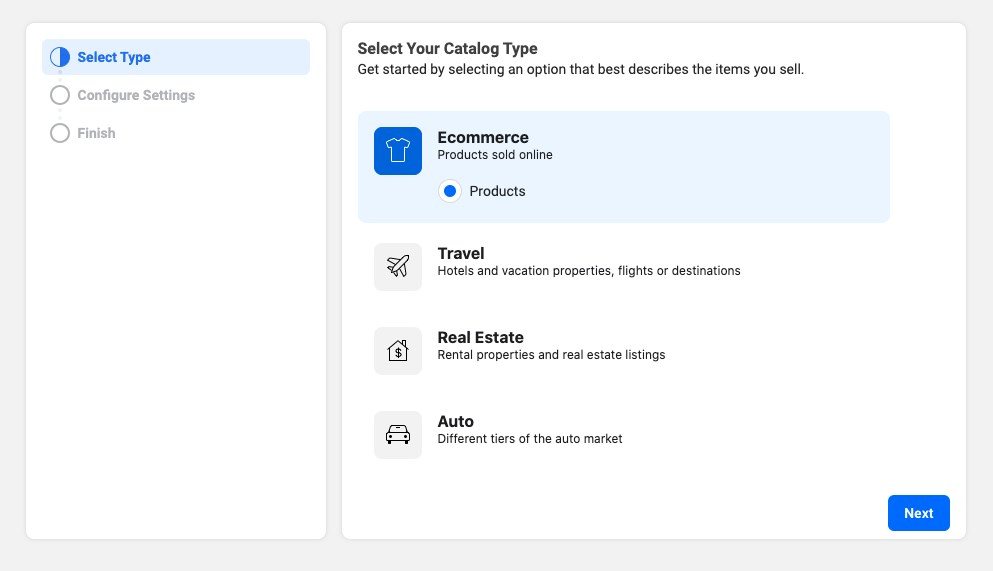
You will then be asked for the catalog type. Select Ecommerce.
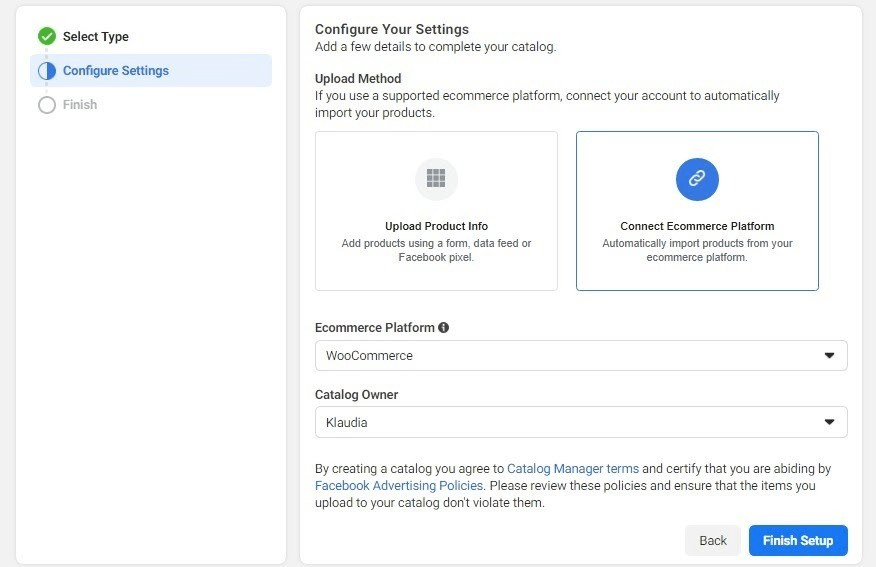
Under the Upload Method, select Connect Ecommerce Platform and select WooCommerce from the drop-down menu.
In the next step, the site will offer you a Facebook pixel attachment, click on Download. Once you download the extension, follow the instructions to add the Facebook Pixel extension to your WordPress site.
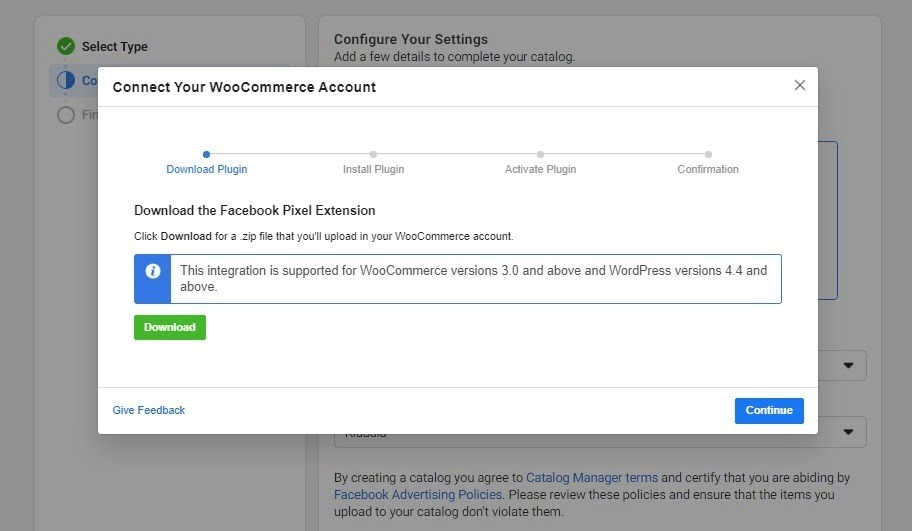
When you are done, you must install and activate it on your WordPress site. You can install the plugins by going to the plugins page on your WordPress edge bar.
When enabled, return to Facebook and click Continue until you see the confirmation message. After finishing the instructions, your WooCommerce site will be connected to your Facebook catalog.
Let’s move on to connect your WooCommerce to Instagram.
#5 Link Your Instagram Account to Facebook
First, open Instagram and go to the Settings panel to continue the process. Go to the Accounts Center at the bottom of the page.

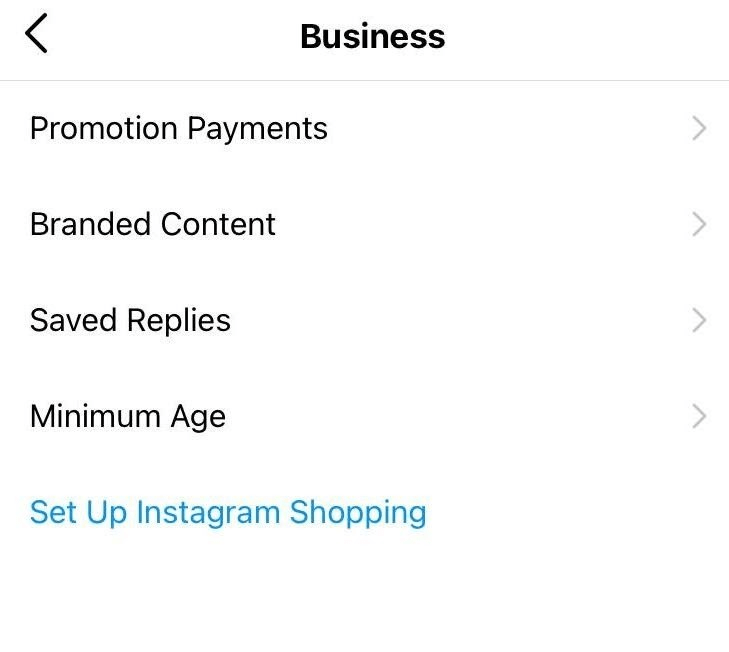
In the Settings panel, select Business in the options. Once done, you will see Set Up Instagram Shopping among the options.
You need to add a store to your profile on the next screen.
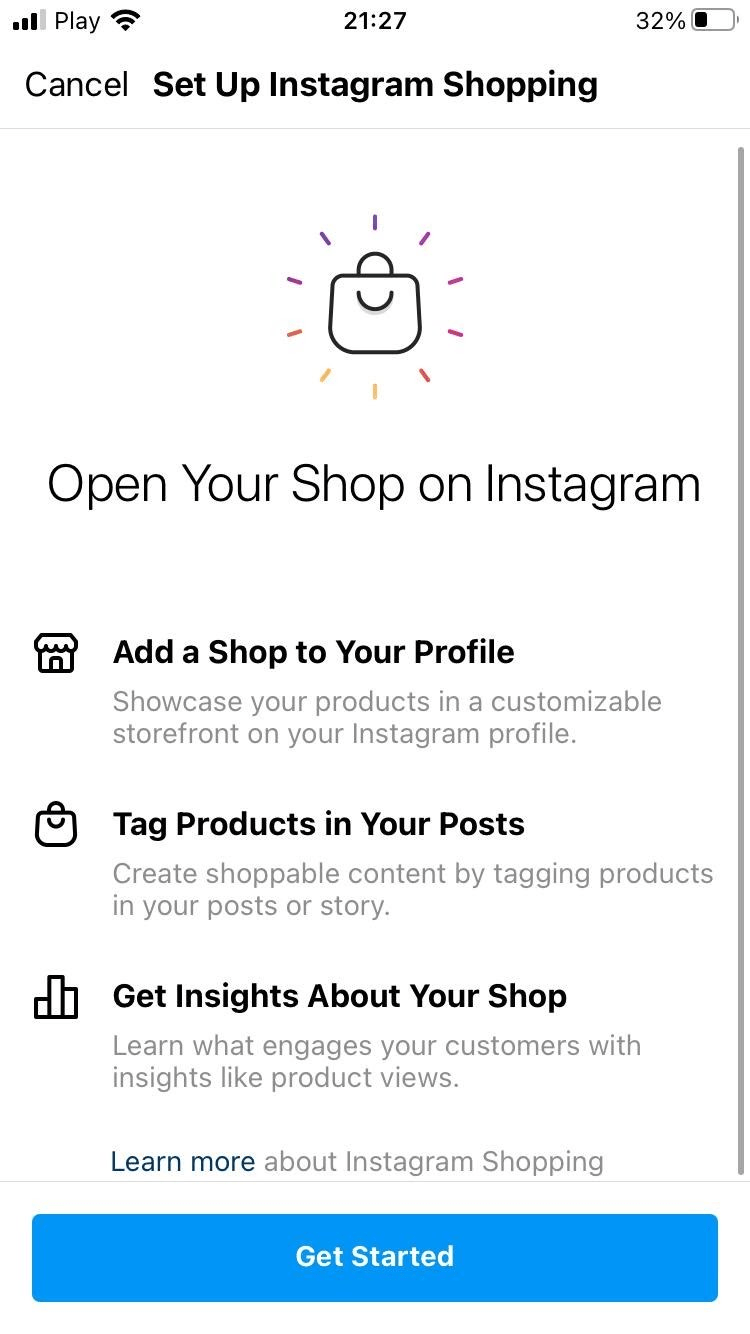
Click Get Started to begin the installation and follow the instructions. Make sure you fill out your information completely. Thus, your customers’ shopping will take place in the most seamless way.
#6 Tag Your Products
Once Facebook has approved your Instagram Shopping account, it’s time to increase your sales!
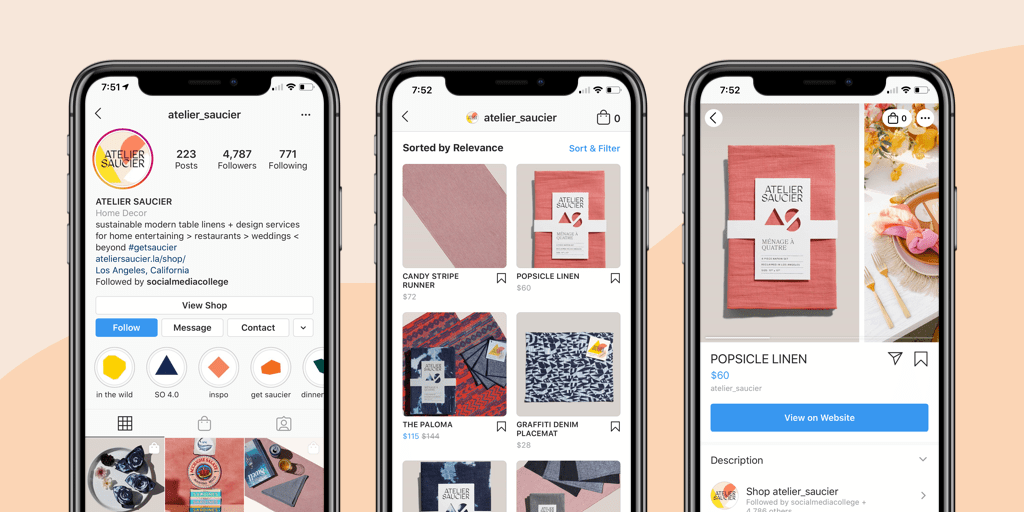
As usual, make sure to upload a photo to your account. Before publishing the photo, you can tag your products with the label. Tap where you want to label and search for your product.
In this way, everyone can touch your photo and see all the products in it. By clicking on your tags, they can be easily directed to your site.
Be More Visible and Increase Your Sales!
Instagram is actively used by approximately a billion people a month. When you sell your products on Instagram, your probability of accessing users increases, and that means there will be more traffic to your site. The decrease in the steps in reaching your site by potential customers and products is equal to your discovery!
Did you decide to give it a try? Let us know how it goes and share your experience with us in the comments!